Category Archives: Pantry storage/Canning

My endeavors in building a store of food for emergencies and self-sufficiency

Root Cellar Complete

It’s finally done! The plants are out, the room is cleaned, the food is in!

As I mentioned in the earlier posts about root cellars, they need to have good ventilation to prevent spoilage and growth of mold/mildew. I accomplished this by breaking two holes into the walls, one outside and one into a secluded portion of the basement.  I used pvc piping and a floor drain with window screen to keep any insects from getting inside, then sealed it with spray foam insulation.  I did the same thing minus the floor drain (only screen) for the vent into the basement. This will allow a cross breeze, which can also be manipulated for a limited amount of temperature control.2016-06-23 20.06.252016-05-30 15.37.19

After installing the vents, I also had to make it bug proof, both for food security when i have fresh/raw produce, and so lady tinker will feel safe going down there.  I accomplished this by waterproofing the entire room and sealing all the cracks. I also had to install a bug-proof doorway, which I cheaply accomplished using some boards, more spray insulation, and scrap 2″ foam boards from an earlier project.  I also packed some foam into the french drain under the door frame to allow water out but keep any insects from getting in.

improvised doorframe braced until the insulation hardens

2016-06-23 20.45.23

So it’s Done! Other than some experimentation with automation to play with fans and temperature controls, it’s now a fully functioning root cellar.  This will significantly increase our storage capacity and free up space in our pantry in the spare room upstairs (which was honestly a little crowded with shelving).

Biltong (jerky)

It’s long overdue, but I’m going to tell you about Biltong, which is a thicker, South African version of beef jerky.  The primary differences between biltong and traditional jerky is that biltong is made from thicker slices of meat and cured slower, without heat.  It is one more tool in the arsenal of preparedness; it’s another way to prepare food for long term storage that doesn’t require electricity, and is a skill that can make a premium product that you might otherwise eat normally, saving you lots of money over your lifetime.

The basic ingredients are:

lean meat, sliced THICKLY (preferably beef if you are just starting, but any meat should work)

vinegar (preferably apple cider or balsamic)

salt COARSE (preferably sea salt, or kosher, not iodized table salt)

pepper

coriander

brown sugar (optional)

2016-05-02 19.41.57

Start by slicing your meat into strips, approximately 1 inch thick and marinading them in the vinegar for about an hour or more.  Then sprinkle them with salt to evenly coat all sides of the meat.  Sprinkle with pepper, coriander, and sugar (I did not do) for flavor.

After the meat has been properly coated, you can either let sit in the fridge over night, or hang immediately. I waited overnight. Hang the meat on any sort of hook you can find, the easiest method is to unbend some paper clips.  Hang them somewhere cool and dry, out of direct sunlight.  If you are worried about pest or flying insects, you can either hang them in a cheesecloth/breathable bag, or have a fan blowing on them so flies can’t land on it. The fan has the added benefit of drying the meat out faster.  I hung mine on paper clips with clothes hangers over drip trays, with a fan blowing on them in a shaded corner of the pantry.

2016-05-03 05.54.19

After about 4-5 days, I could noticeably see the difference. The outside was darker and hard, but the inside was still slightly raw and squishy. If you typically like your meat medium-medium rare, you will like it this way, the biltong is very tender and chewy with a great taste.  I cut off a few slivers to taste, but let the majority of it go until 7-8 days, at which point it was completely dried out.  It had the same pleasant taste, not salty like traditional jerky, but was much tougher at this point, and will last a long time in a jar in the pantry (not needing any refrigeration).2016-05-03 16.56.49

I should note that it is very important to select lean cuts of meat, or trim your meat well, as any fat will become chewy strands within the biltong, that might get stuck in your teeth.  I also found the completely cured biltong much easier to eat when cut into smaller pieces compared to chewing on a whole stick, the thicker slices were tough to chew at times.

Overall, I consider this a great success, and will continue to experiment and refine my recipe.

Root Cellar: Stage 2

Well, last time I talked to you about the benefits of a root cellar, and the beginning of my process to convert a corner room of my basement into a root cellar.  I started by cleaning it out and sealing some of the larger cracks in the wall.

I have since painted the walls with a waterproof paint to help keep it clean and prevent the walls from leaking. I did a little investigation and found where the leak was coming from outside and patched it up to help keep the water out. I also vacuumed and swept the floor so the room would be nice and clean.

2016-03-10 21.17.02

The next steps will be to install a tight door to help insulate the room and keep critters out, and to install a means of ventilation, which I will likely do by breaking a pair of small holes in the wall and installing vents.

I won’t actually need the root cellar until fall, so I will be using it in the meantime as a grow room to start my plants for the garden this spring.  The concrete walls will allow me to setup automated irrigation without worrying about water damage, but I will need to make sure the room doesn’t get too cool.


I’ll keep you updated!

Root Cellar: Stage 1

With this blog series, I am going to share my journey of building my own root cellar with everyone and hopefully inspire somebody to do the same.

We’ve talked about being self reliant and keeping a well stocked pantry for storing large amounts of food in the event of an emergency, whether it’s a financial/economic slump, a weather storm, or the end of the world. Food that isn’t shelf stable typically requires special storage considerations, but it isn’t always practical or affordable to have three freezers or refrigerators. Instead, the tried and true method of root cellaring can be utilized.

The basic necessities (which coincidentally are how your fridge and freezer also preserve food) are cold and dark. A root cellar usually can’t get as cold as either, but it makes up for it with the third important factor that a fridge and freezer lack, air flow.

They can be as large and complex as standalone buried bunkers, an insulated closet or corner basement room, or as simple and inexpensive as a buried cooler or broken fridge .

I happen to be lucky enough to have an isolated corner room in my basement where the oil tank used to be. This will naturally stay nice and cold through the winter and require minimal extra insulating.

The cellar's humble beginnings
The cellar’s humble beginnings

You might be able to see that the room already has a french drain to help divert moisture from the walls to the sump pump. This can be a blessing if properly managed because produce requires a certain level of humidity, but I’m going to seal the walls anyway.

My first step however, is to completely clean it out. That includes sweeping every square inch to get rid of the dust and spiders (a necessity if lady Tinker is going to eat anything stored down here). I also got a few cans of spray foam to seal the bigger cracks to help insulate the room and prevent the bugs from returning.

Seal all of the cracks

Next time I check in, I’ll be waterproof painting the walls and ceiling to help keep it clean and prevent bugs from sneaking back in.

The Case for a Well-Stocked Pantry

With the potential for a good snowfall this coming weekend along the northeast coast, I’m going to talk about some of the basics of food preparedness.  I’m not talking about spending $3000 on a pallet of MREs or ten years of freeze dried food. I’m talking about a comprehensive, balanced, well-stocked pantry. When done from end-of-the-world paranoia, people will call you a hoarder, tin-hat conspiracy theorist, or any other number of names. But there are several very valid reasons to maintain a well stocked pantry, especially considering the average household only has three days worth of food in their house (I read somewhere but can’t find the proof). As a matter of fact, several decades ago it was considered a normal part of life for our grandparents.  Anyone without a pantry was considered to be either irresponsible, or too poor off to be able to afford it, warranting charity from their neighbors to help them out.

The three easiest reasons to win someone over are economic, convenience, and resilience. There are a few basic investing principles like dollar-cost-averaging and capital deferral that make a case for storing food. Shelf stable foods, if bought in bulk when on sale, will save you money in the future if you instead had to buy it at the higher price later because you didn’t already have it.    It’s very convenient and easy to have a high quality meal when you already have a large variety of prepared food in the house, instead of opening the fridge realizing there is nothing worth eating, and having to go out to eat (spending more money) because you don’t have the time to cook from scratch.  There is also a very strong case for resilience and reduced stress; imagine someone in your family gets laid off (much more likely than a nuclear apocalypse, right?). Yea i know, “but that’s what unemployment is for”. Well, unemployment is a lot less than your regular paycheck, and if you were already living paycheck, to paycheck,worrying about making sure there is food on the table can be very stressful.   It can lead to poor health, or making hasty decisions, like accepting the first job you can find, instead of the right job or a good paying job.

The easiest and most affordable way to begin stocking a pantry is to start a food journal. Get a piece of paper and pen and leave it in the kitchen. Everytime someone eats something, in the house or out and about, add it to the journal for that day. After a few weeks, put stars next to the things that was eaten freuently, and a double star if that thing can be easily stored (like canned tuna, a box of mac and cheese, ice cream, etc.).  These are the things you eat REGULARLY and know that if you had a larger quantity of it, you would eat it all before it went bad.  The next step is a simple process called copy-canning. If you can’t afford to go spend 500 dollars on food to stock up on these new-found staples for your household, instead focus on one or two items at a time. Each time you eat one can/box/etc of that item, add two cans/boxes/etc of that item to your shopping list. Repeat the process until you slowly develop a stockpile that will last you three months, then move onto another set of food items. Note, that this does not mean three months of eating nothing but mac and cheese, but rather three months worth of  eating that thing at the rate you normally eat it. So if you ate mac and cheese once a week, you should copy-can your mac and cheese until you have twelve boxes(12 weeks/3 months).

The other easy opportunities to build your pantry is for bulk or opportunity buys. It is important to remember your food journal. DO NOT buy 50 cans of mushrooms because they are on super-sale if you hate mushrooms, this is akin to buying $3000 dollars worth of MREs just so you have food in an emergency, you want to eat something you like in a stressful emergency, not a can of slippery and slimy mushrooms.  That being said, wholesale clubs like Costco, BJs, Sams Club, etc. are great resources for buying items in bulk that last a long time like rice and beans, or bulk packages that can go in the freezer.  5 gallon buckets with gamma lids are great resources for shelf-stable bulk items like flour, sugar, and rice.  The opportunity buy are those super deals like the can-can sale at Shop Rite. I might get funny looks at the checkout, or an exasperated sigh from Lady Tinker, but buying $300 worth of soup and canned vegetables at half price just saved us $300 later this year. This food is shelf stable for one to two years, so as long as I don’t buy more than we will eat in a year, it is money well spent and money saved.

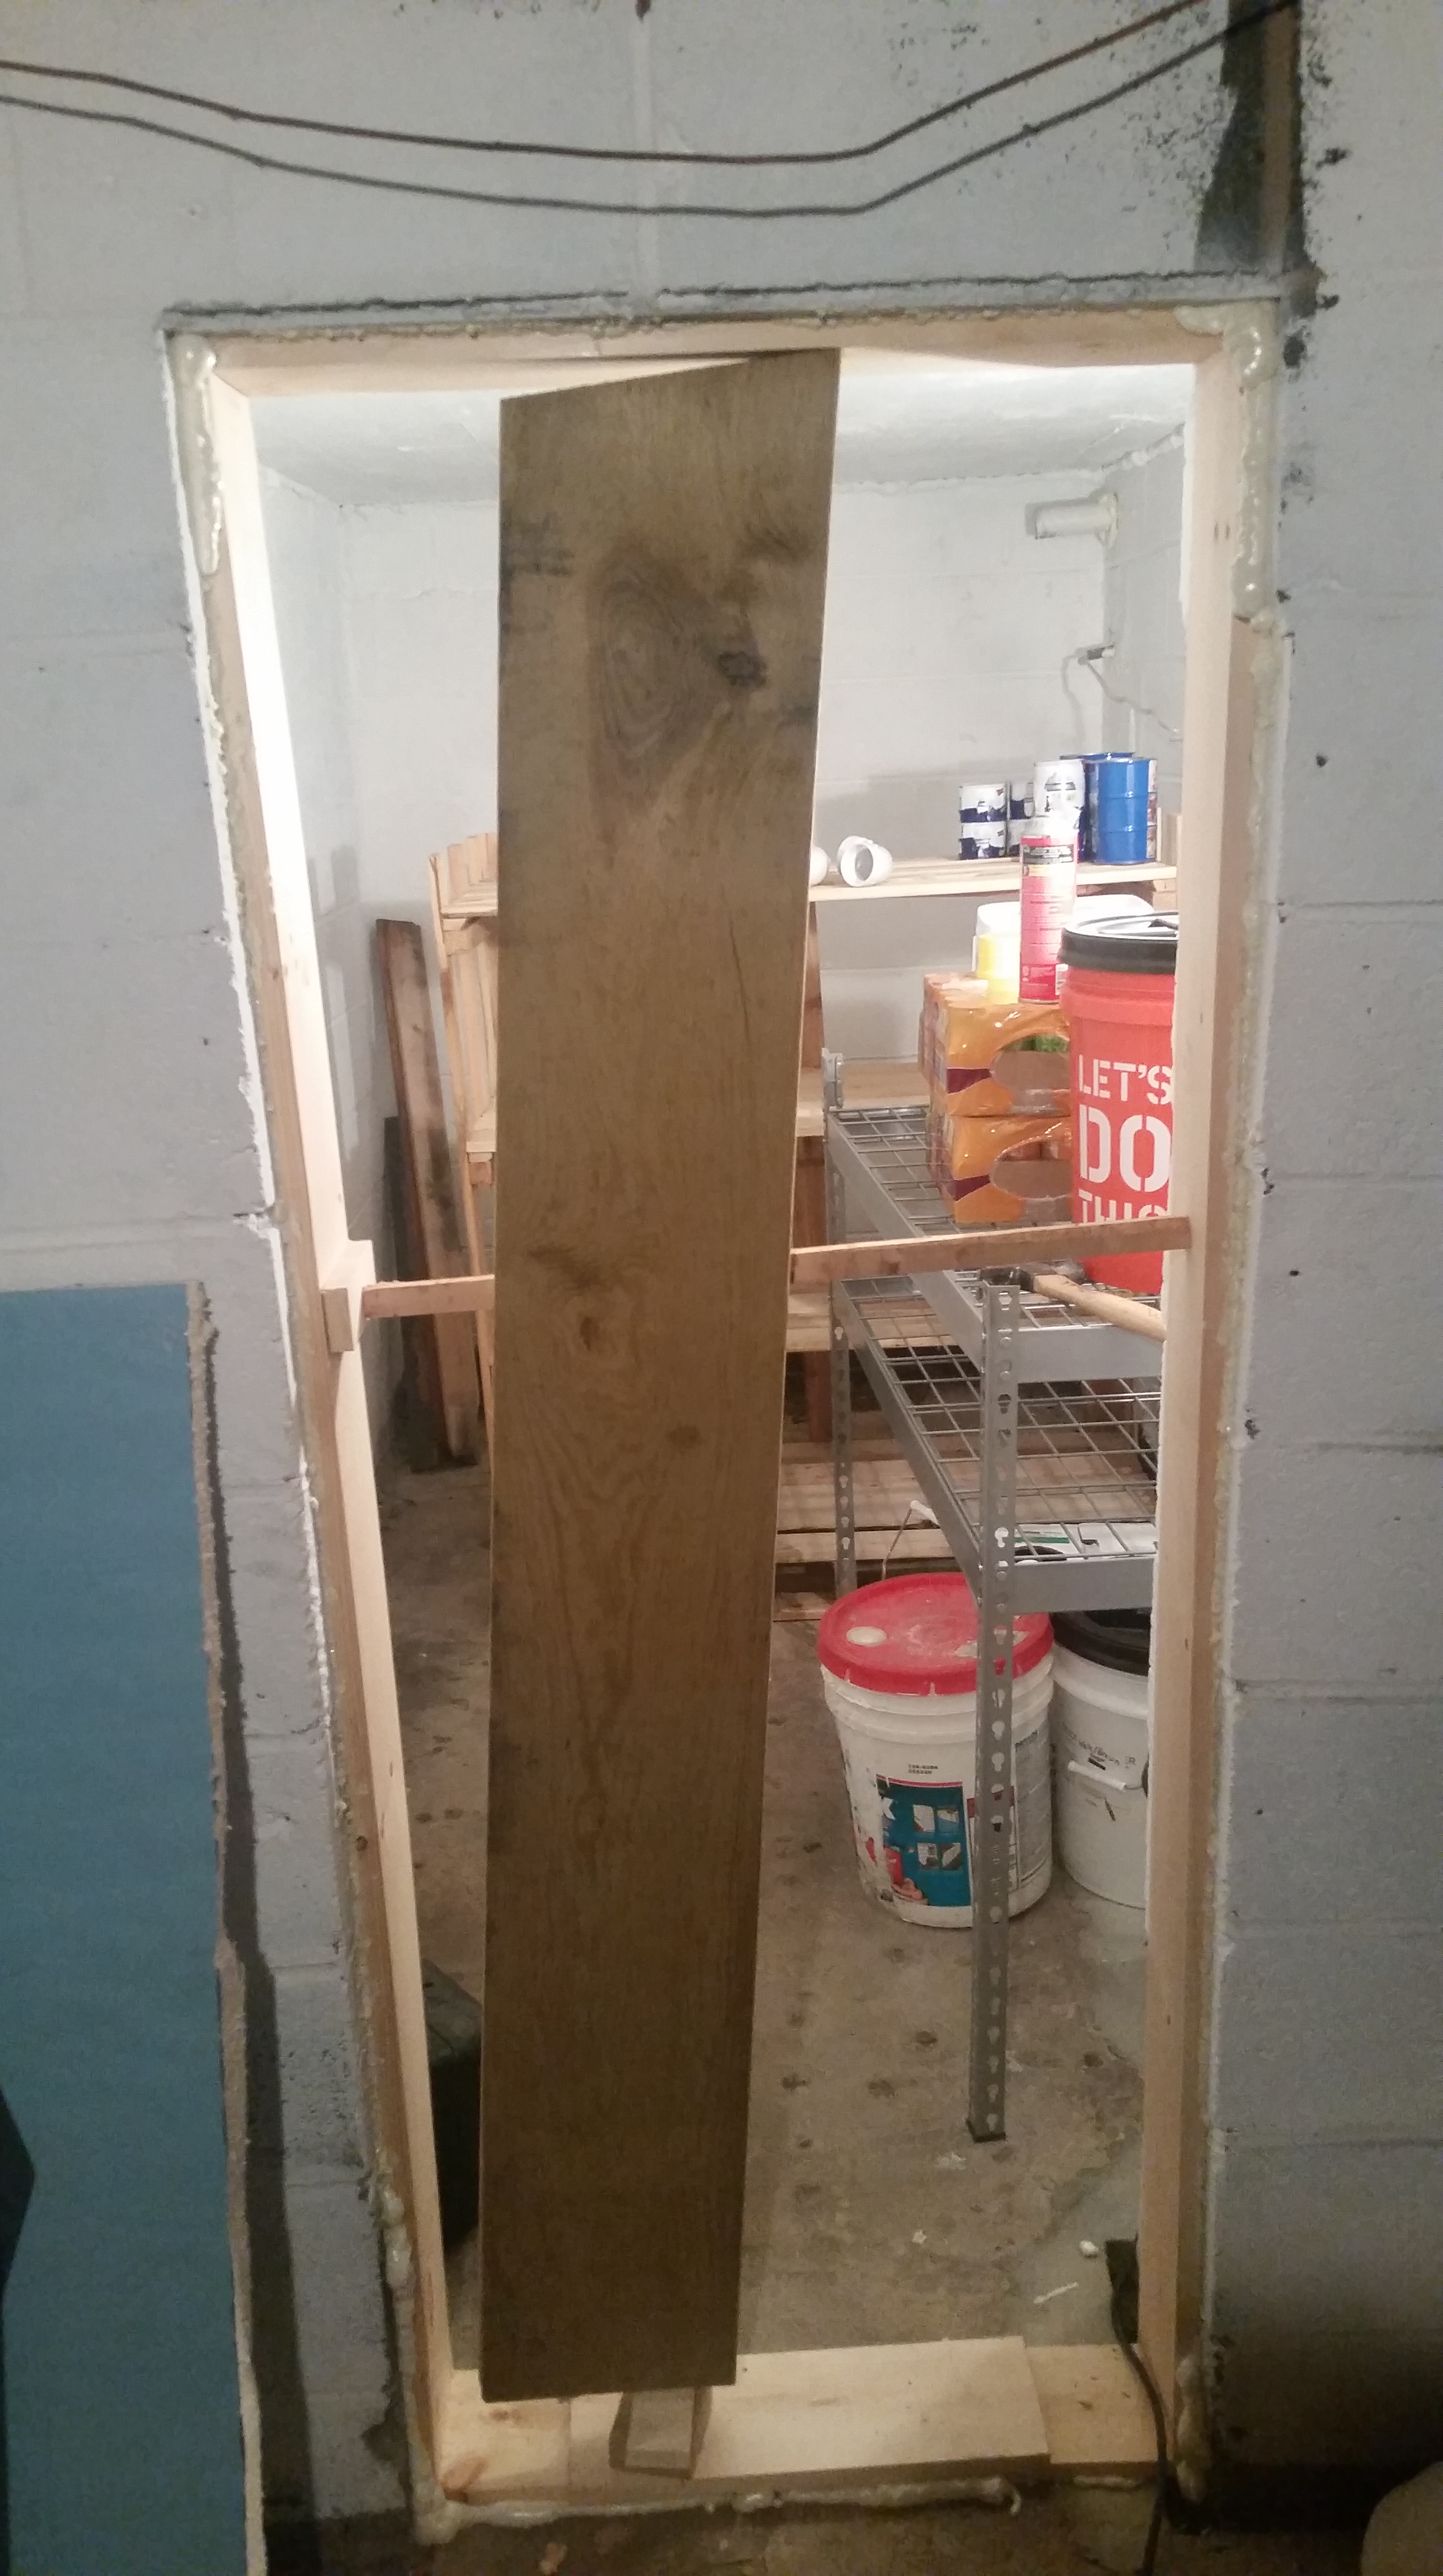
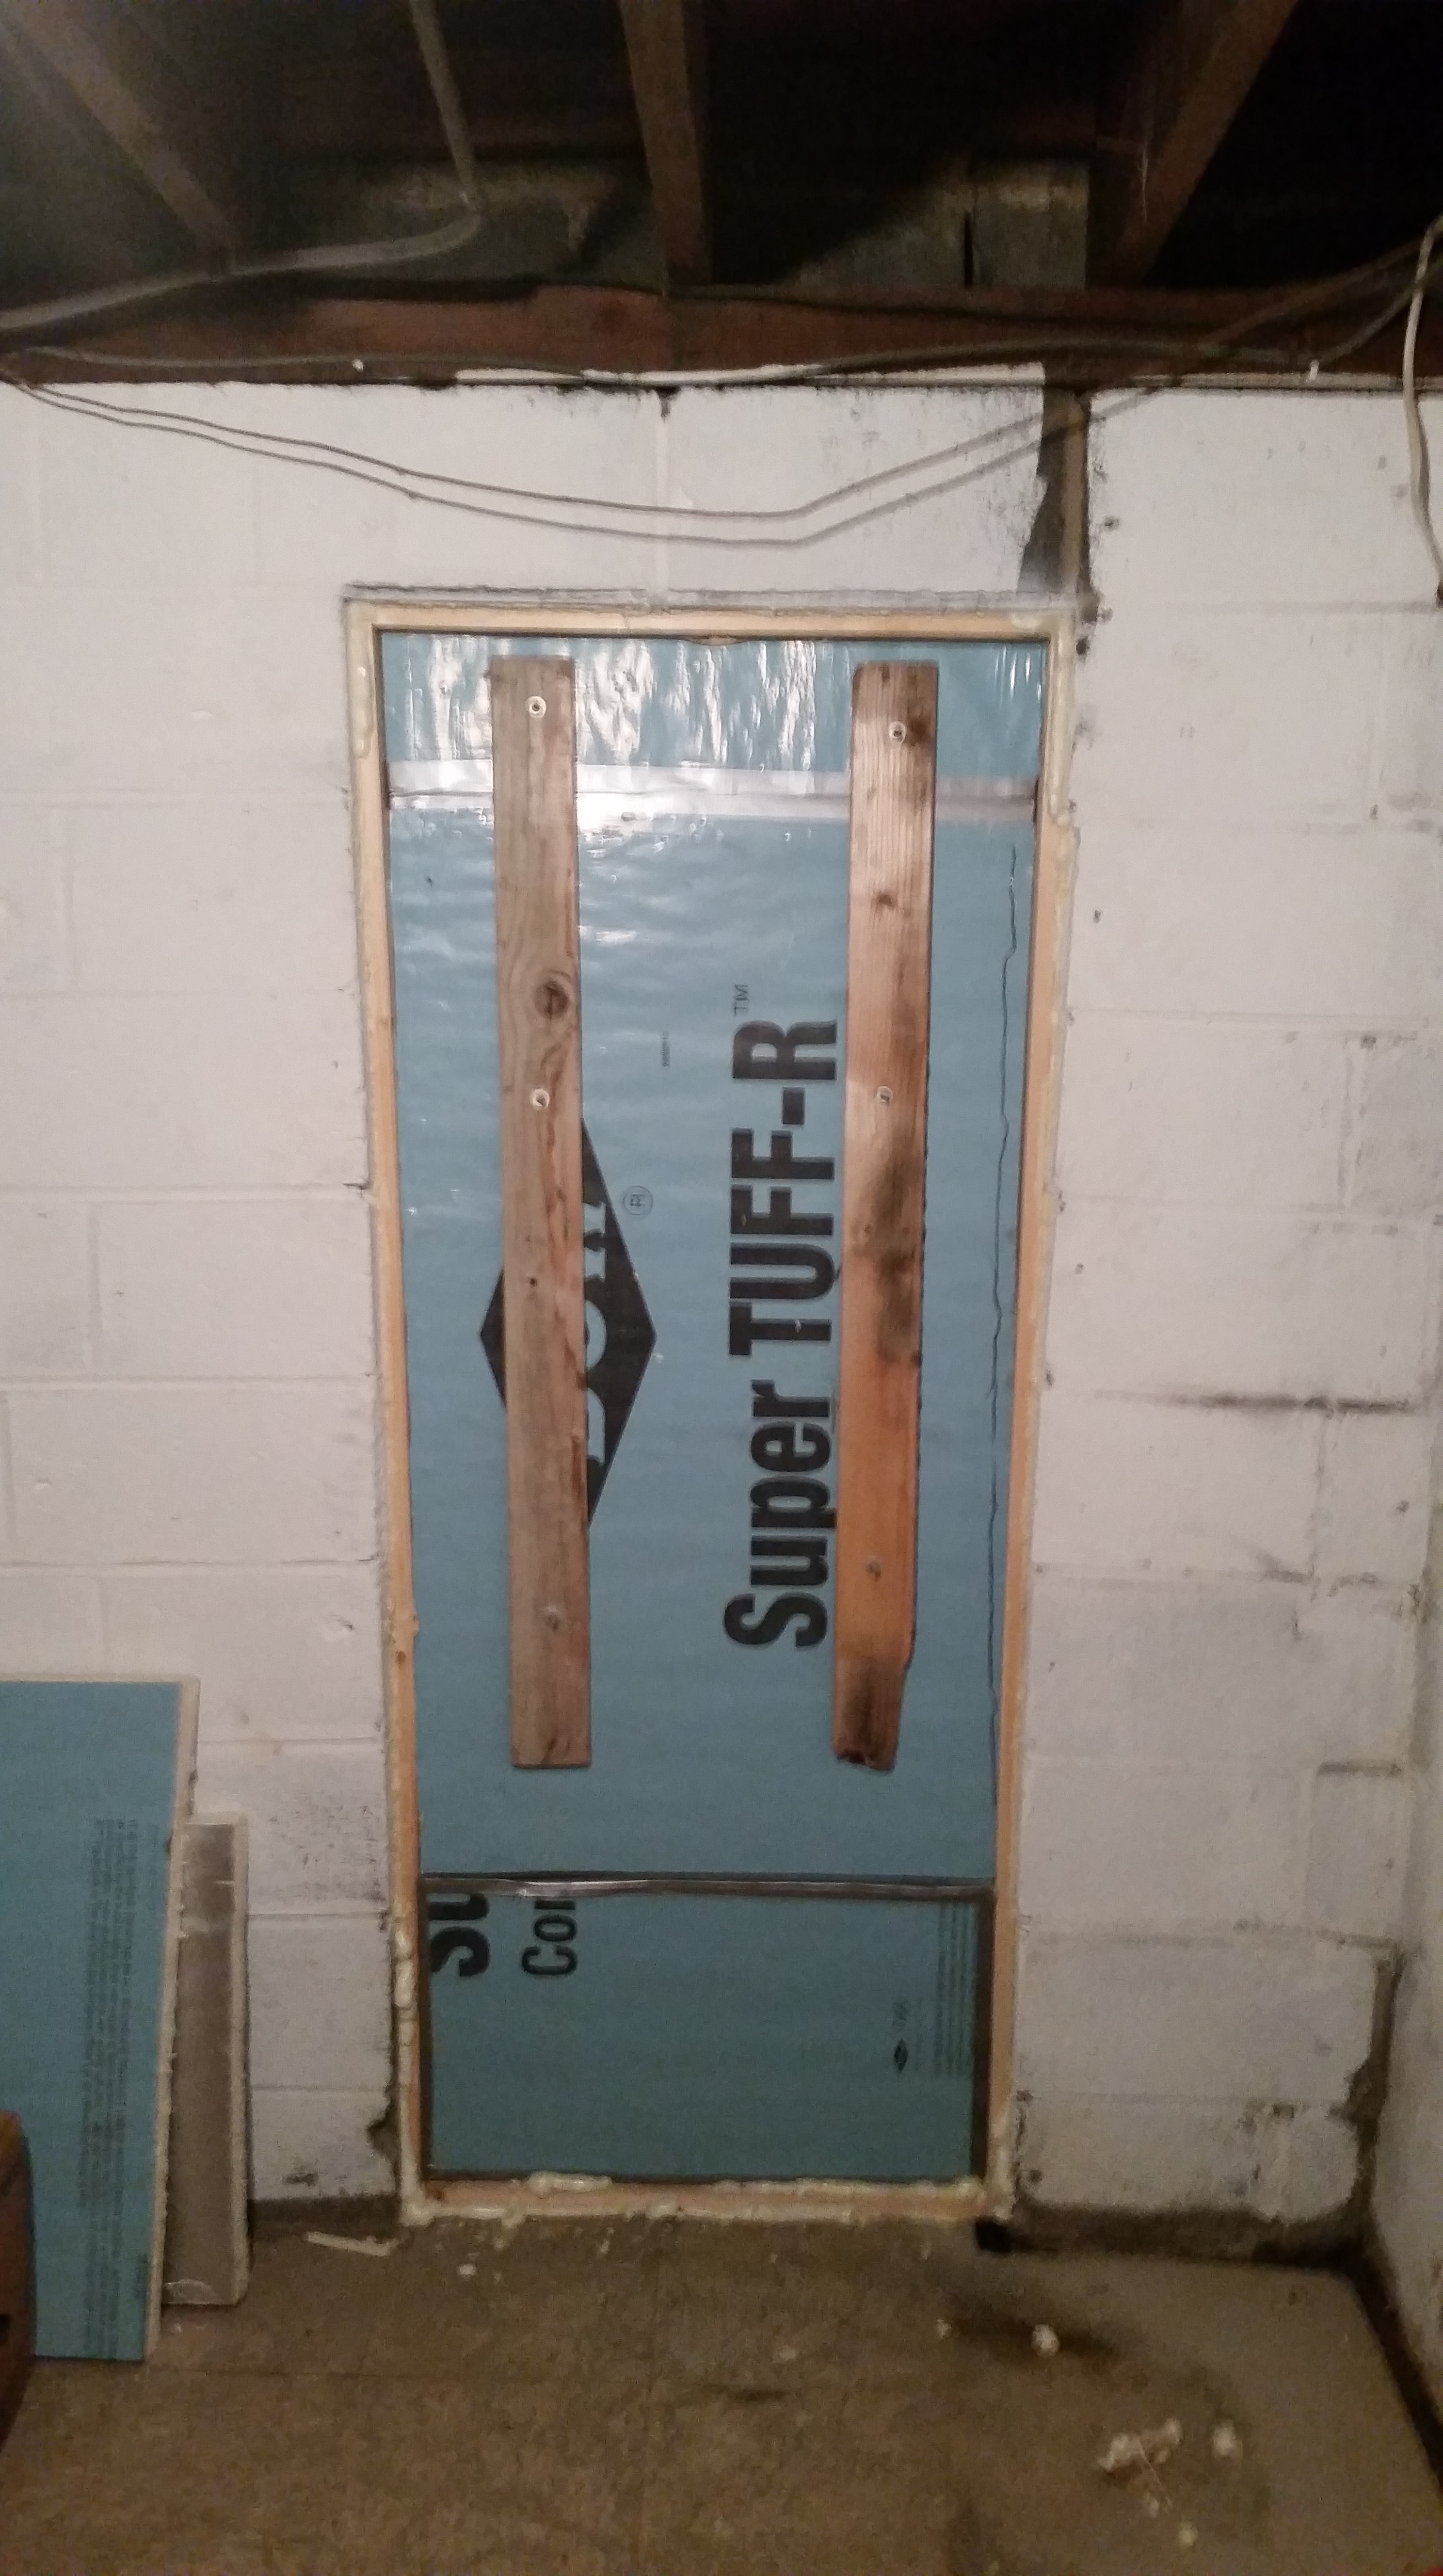
Your pantry doesn’t need to be an entire dedicated room like mine is, most people don’t have that much extra space. You can start with a spare closet, a few tupperware bins under the bed, ontop of the kitchen cabinets, or anywhere with some free space.  Any little bit helps.  The only other important point I will address here is to keep an organized and inventoried pantry. This includes your freezer, if you have an extra one (especially the chest freezers). You need to know what you have and where it is, or you will forget you have it it until you smell it starting to go bad.

Have I convinced you? Will you consider starting a pantry? Let me know.

The Year in Review

So, it’s been a while, and that’s my fault. I started this site at a big transition point in my life and thought I’d be able to keep up with everything I’ve wanted to try. I spent a lot of time getting ready to move into my house and adjusting to a new job. I’ve made several batches of cider and wine, I think my strawberry wine is my biggest success so far!  I ordered five fruit trees and several more plants (I will update soon about putting plants “to bed” for the winter) and built an indoor a-frame grow stand to try my hand at growing microgreens and protect my more sensitive/younger plants that I began growing at a bad time of year.  I now can and dehydrate excess food, though I will readily admit canning is a huge pain, so I got a pressure cooker that can pressure-can and will control the temperature and pressure so I don’t have to sit in front of the stove for hours at a time! I had a worm bin that was working fairly well, until i had to leave for vacation and they all died; I will likely start a bigger one up this spring now that I will have the space with a true yard.

The last year has kept me primarily very busy with the house, I’ve installed a more efficient wood burning stove into the old fireplace, made several repairs to the house which was ruined by renters, replaced the kitchen floor, completely remodeled the bathroom, had a tree cut down from the back yard to let in some light for my future garden (and saved the entire thing for firewood and mulch) and then fenced in and cleaned up the back yard for our new rescue pup, and turned one of our spare rooms into a full on pantry with shelving and two full freezers.

This fall I got a mother-load of free mulch from a local tree trimming company and several trailer loads of horse manure from a local stable to prepare the garden for vegetables next spring. I had so much mulch I figured I may as well mulch the entire perimeter of the property and certain key areas of the front of my property to keep it clean but also establish plenty of beds to plant into. I plan to plant many varieties of productive plants into these mulch beds this spring beyond what will be going into the garden. I’m going to over plant like crazy and STUN them (Sheer, Total, Utter, Neglect); whatever survives without too much work will be used to grow stronger plants next year, and whatever dies will be sent to my new compost pile!

I make my own shampoo, clothes washing detergent, deodorant, and toothpaste,  and support a family that makes soap by hand.  For this  Christmas, me and Lady Tinker crafted homemade gift baskets for everyone, including a crocheted basket for the gifts and a soap scrub, bath bombs, homemade sugar scrub, and an amazing new comfrey-plantain healing salve which will definitely be a steady item in the Tinkerer household.

Writing this all out, it looks like I have done much more than I initially thought I did. But trust me, there is much more to come this year! Follow me on my journey, and hopefully I will inspire you to try something new that will lead you to a more self-dependent, fulfilling lifestyle.