With this blog series, I am going to share my journey of building my own root cellar with everyone and hopefully inspire somebody to do the same.
We’ve talked about being self reliant and keeping a well stocked pantry for storing large amounts of food in the event of an emergency, whether it’s a financial/economic slump, a weather storm, or the end of the world. Food that isn’t shelf stable typically requires special storage considerations, but it isn’t always practical or affordable to have three freezers or refrigerators. Instead, the tried and true method of root cellaring can be utilized.
The basic necessities (which coincidentally are how your fridge and freezer also preserve food) are cold and dark. A root cellar usually can’t get as cold as either, but it makes up for it with the third important factor that a fridge and freezer lack, air flow.
They can be as large and complex as standalone buried bunkers, an insulated closet or corner basement room, or as simple and inexpensive as a buried cooler or broken fridge .
I happen to be lucky enough to have an isolated corner room in my basement where the oil tank used to be. This will naturally stay nice and cold through the winter and require minimal extra insulating.
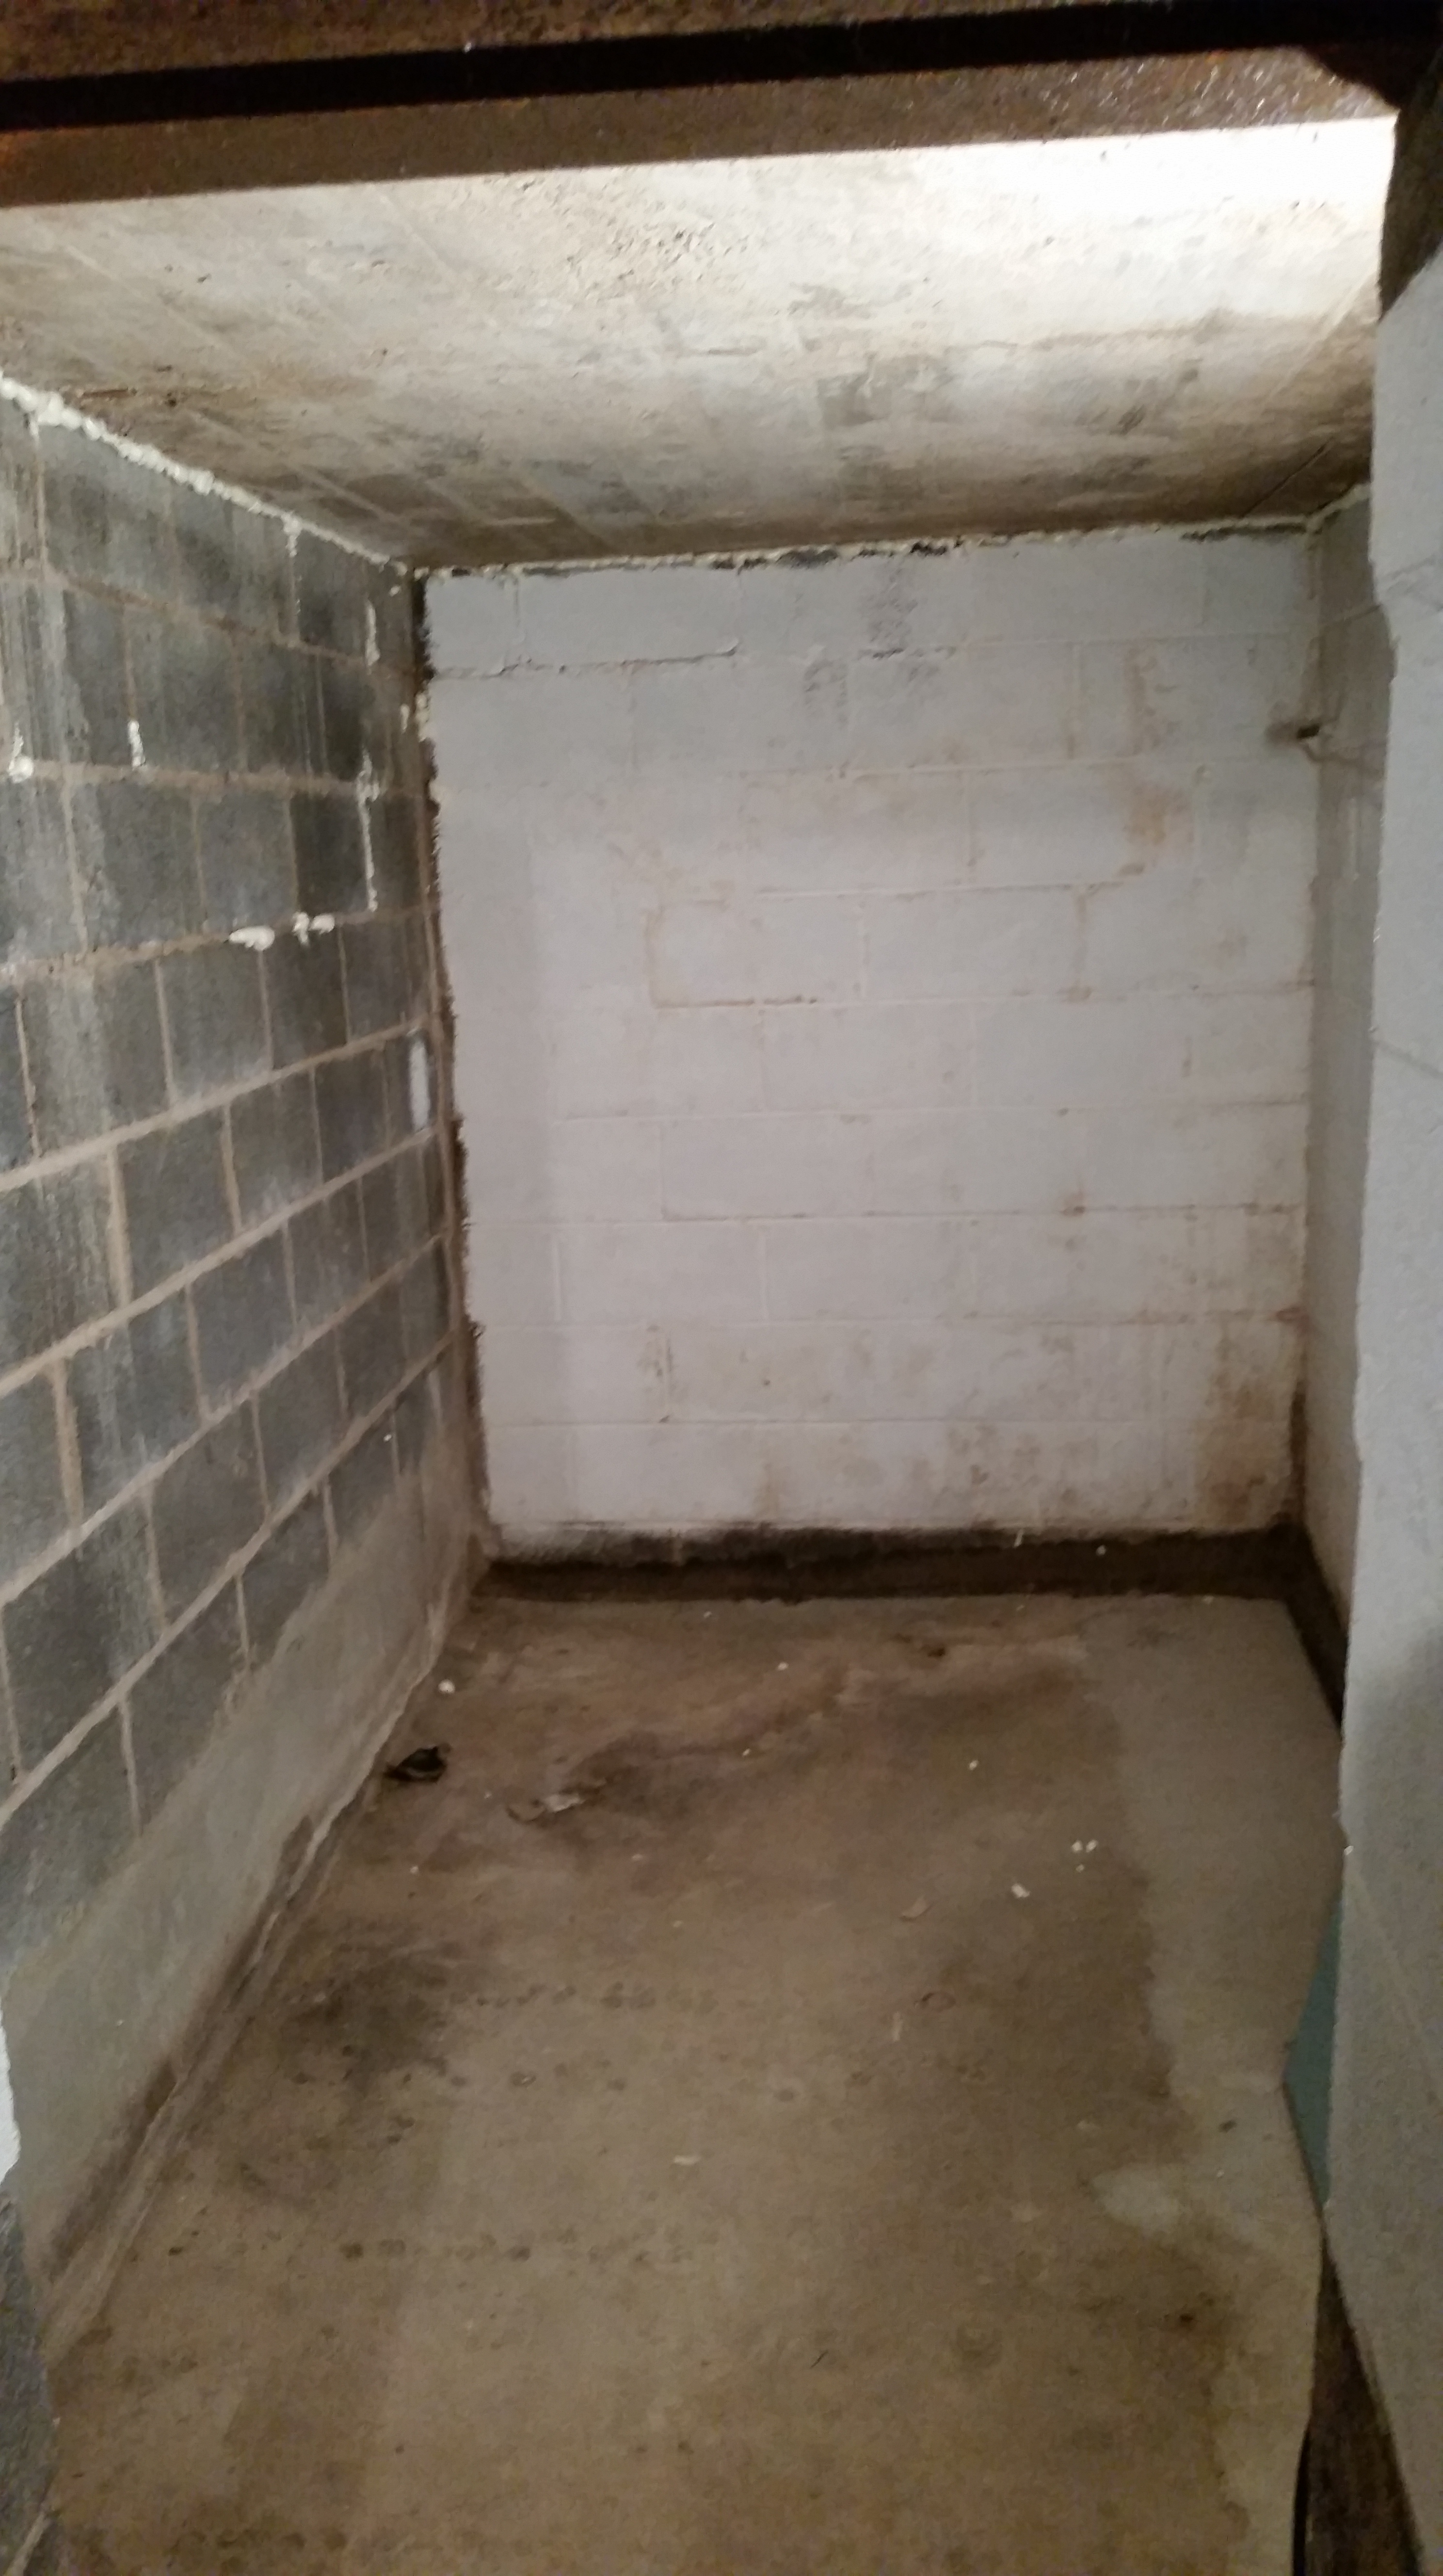
You might be able to see that the room already has a french drain to help divert moisture from the walls to the sump pump. This can be a blessing if properly managed because produce requires a certain level of humidity, but I’m going to seal the walls anyway.
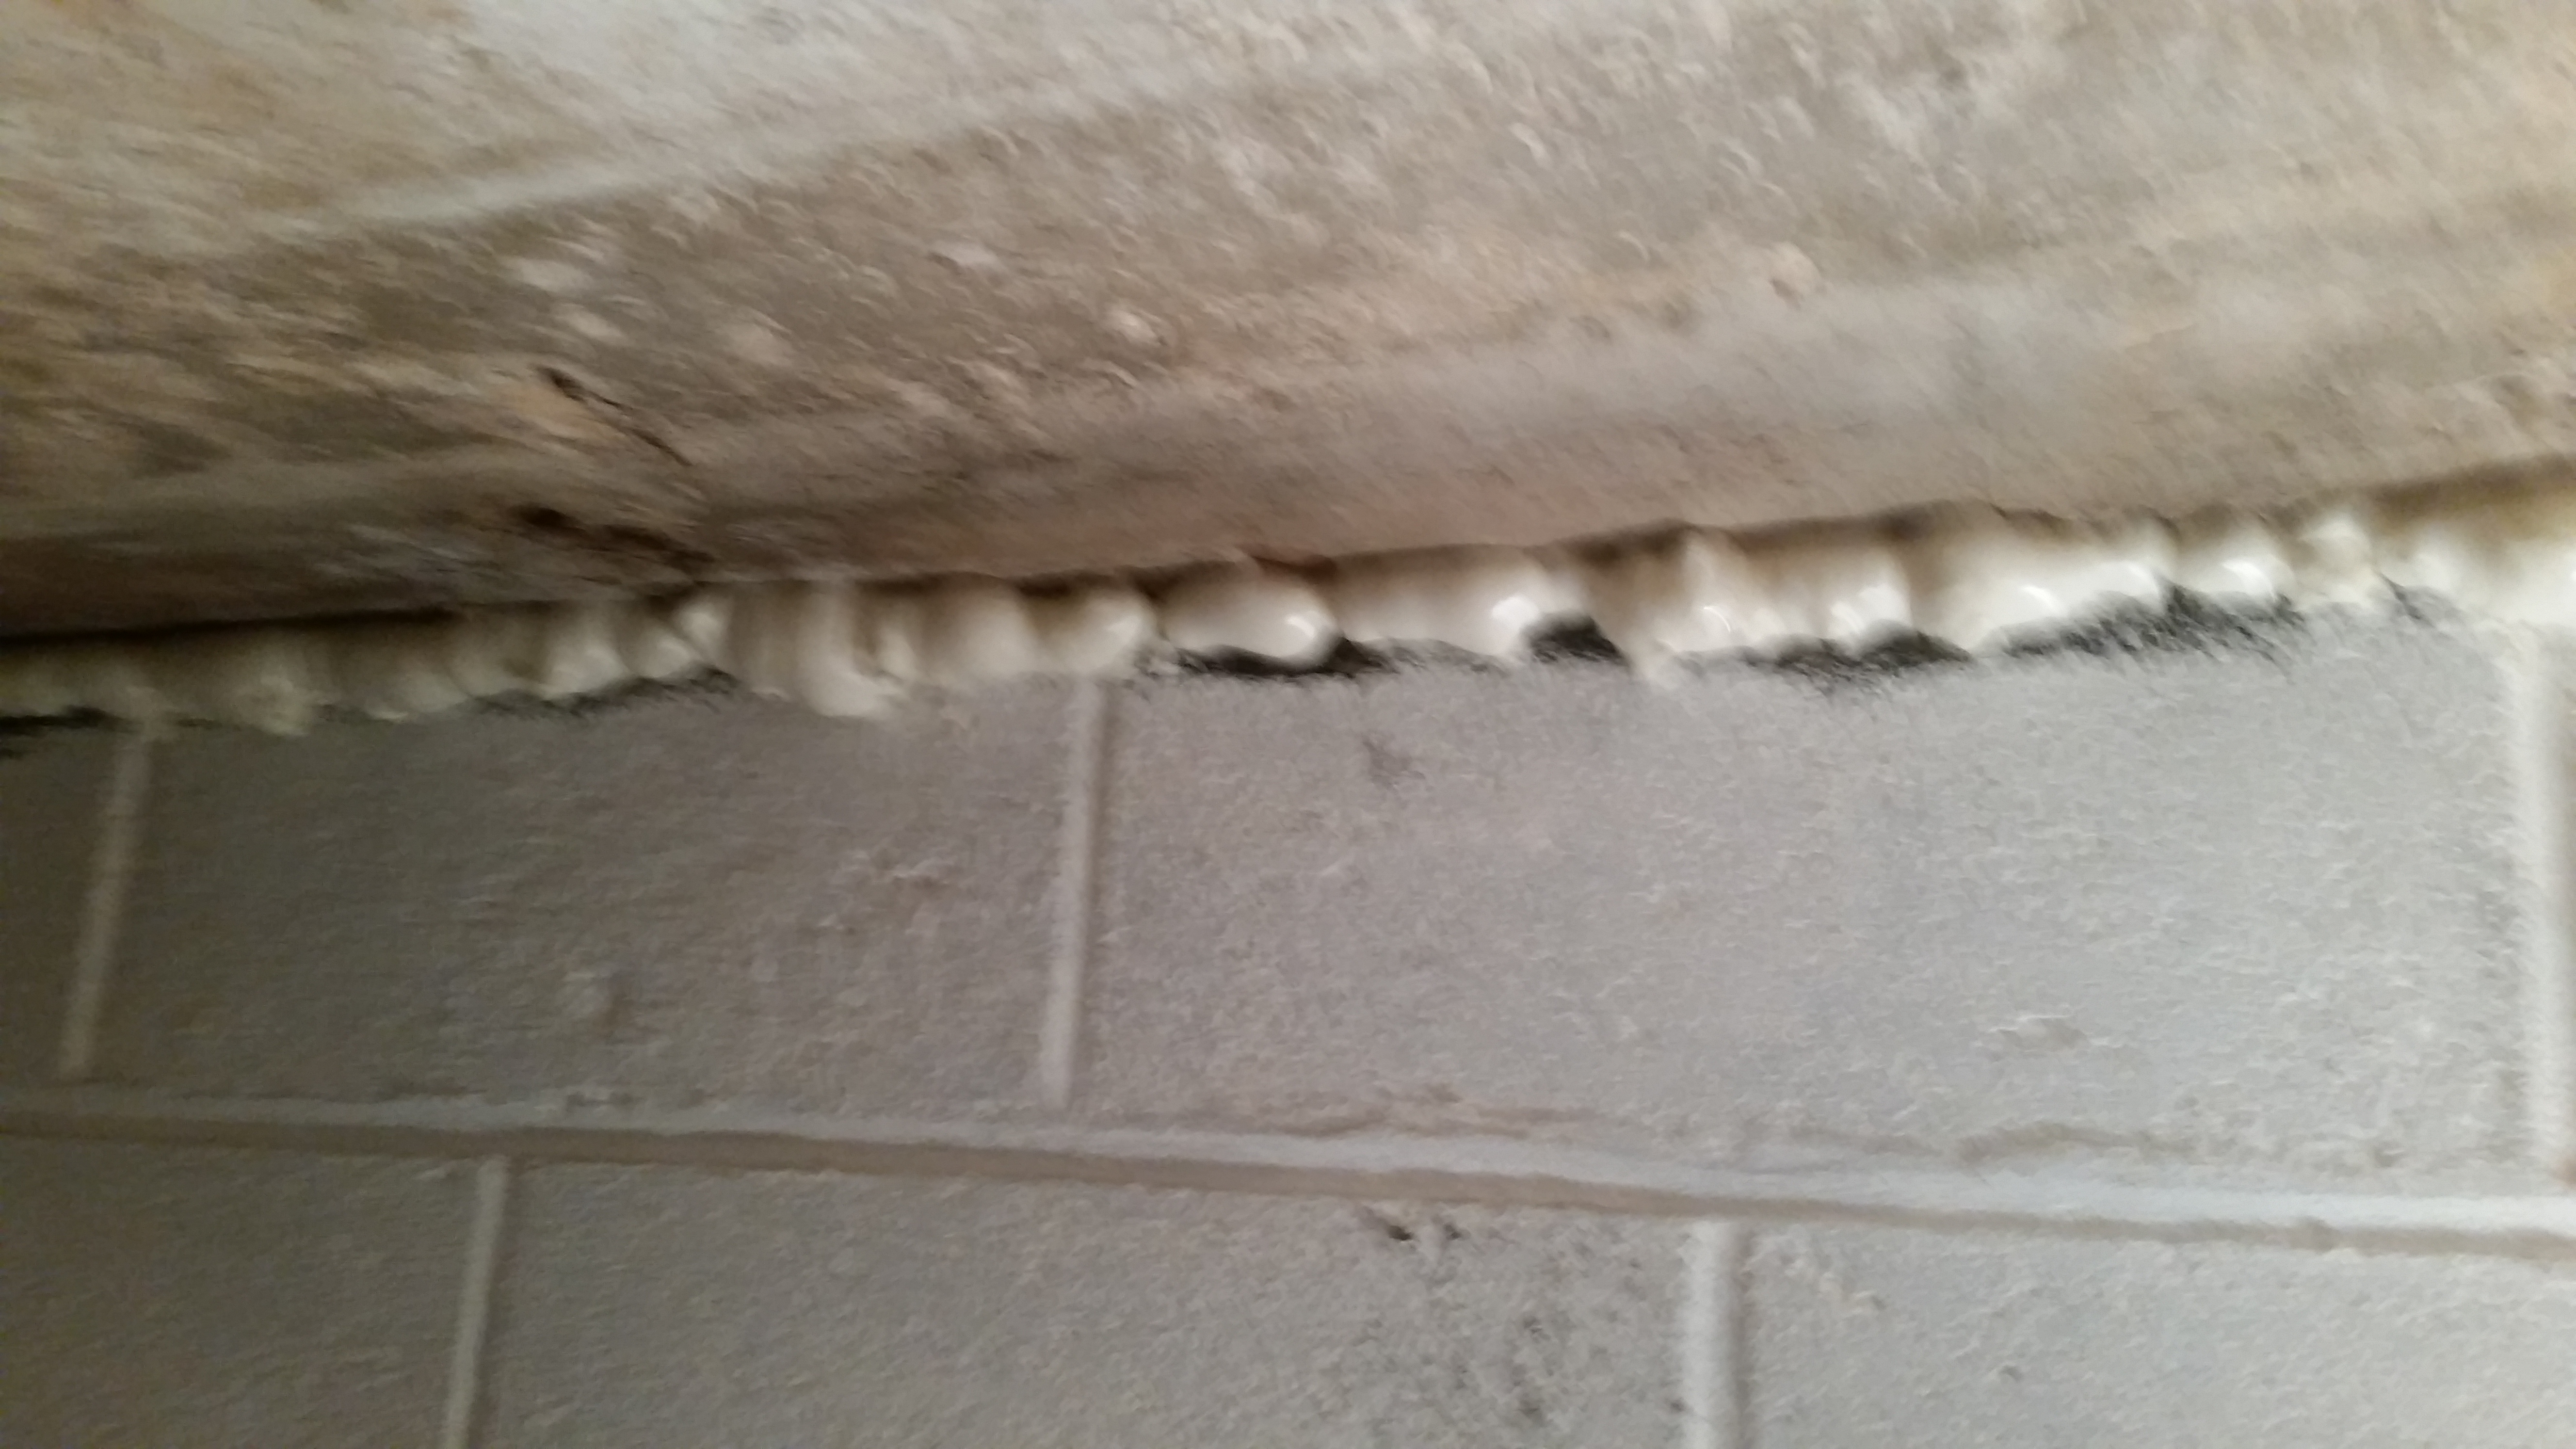
My first step however, is to completely clean it out. That includes sweeping every square inch to get rid of the dust and spiders (a necessity if lady Tinker is going to eat anything stored down here). I also got a few cans of spray foam to seal the bigger cracks to help insulate the room and prevent the bugs from returning.
Next time I check in, I’ll be waterproof painting the walls and ceiling to help keep it clean and prevent bugs from sneaking back in.
