Category Archives: Gardening

Seed Starting

Many conventional garden vegetables are too delicate to start directly outside unless you wait until late in the year, at which point you might be too late, and would naturally have a certain percentage of your plants die or never sprout from seed if you plant directly into the ground.  This is especially a concern if you have limited garden space; you don’t want to plant seeds planning on everything surviving until adulthood, then losing one of three tomato plants, or your only squash vine.

Most conventional gardeners follow one of two paths, buy baby plants from a nursery, or grow your own transplants from seed.  Buying baby plants from a nursery (or worse, a box store like home depot or lowes – I know, they are convenient) does make the garden easier for the casual gardener, but at 3-5 dollars per plant, you wind up not saving that much money from just buying produce from a grocery store or farmers market after you consider all of the work you put into it.  This is a good course for people trying a garden for the first time, you don’t want to overwhelm yourself and should focus on a few skills at a time, like keeping the plants alive.

However, if you are already familiar with gardening, you should consider starting plants from seed.  You can get 20-50 seeds for the price of one grown plant from a nursery, and can over-plant and afford to screw up.  Even if 80% of your seedlings die, you are still ahead financially and have learned a new skill.  It is important to start more plants than you will need, assume a few will die and that way you can keep the strongest/healthiest looking plants for yourself and then give away or sell the few extra that you have when you are ready to transplant into the garden.

2016-03-13 17.41.42

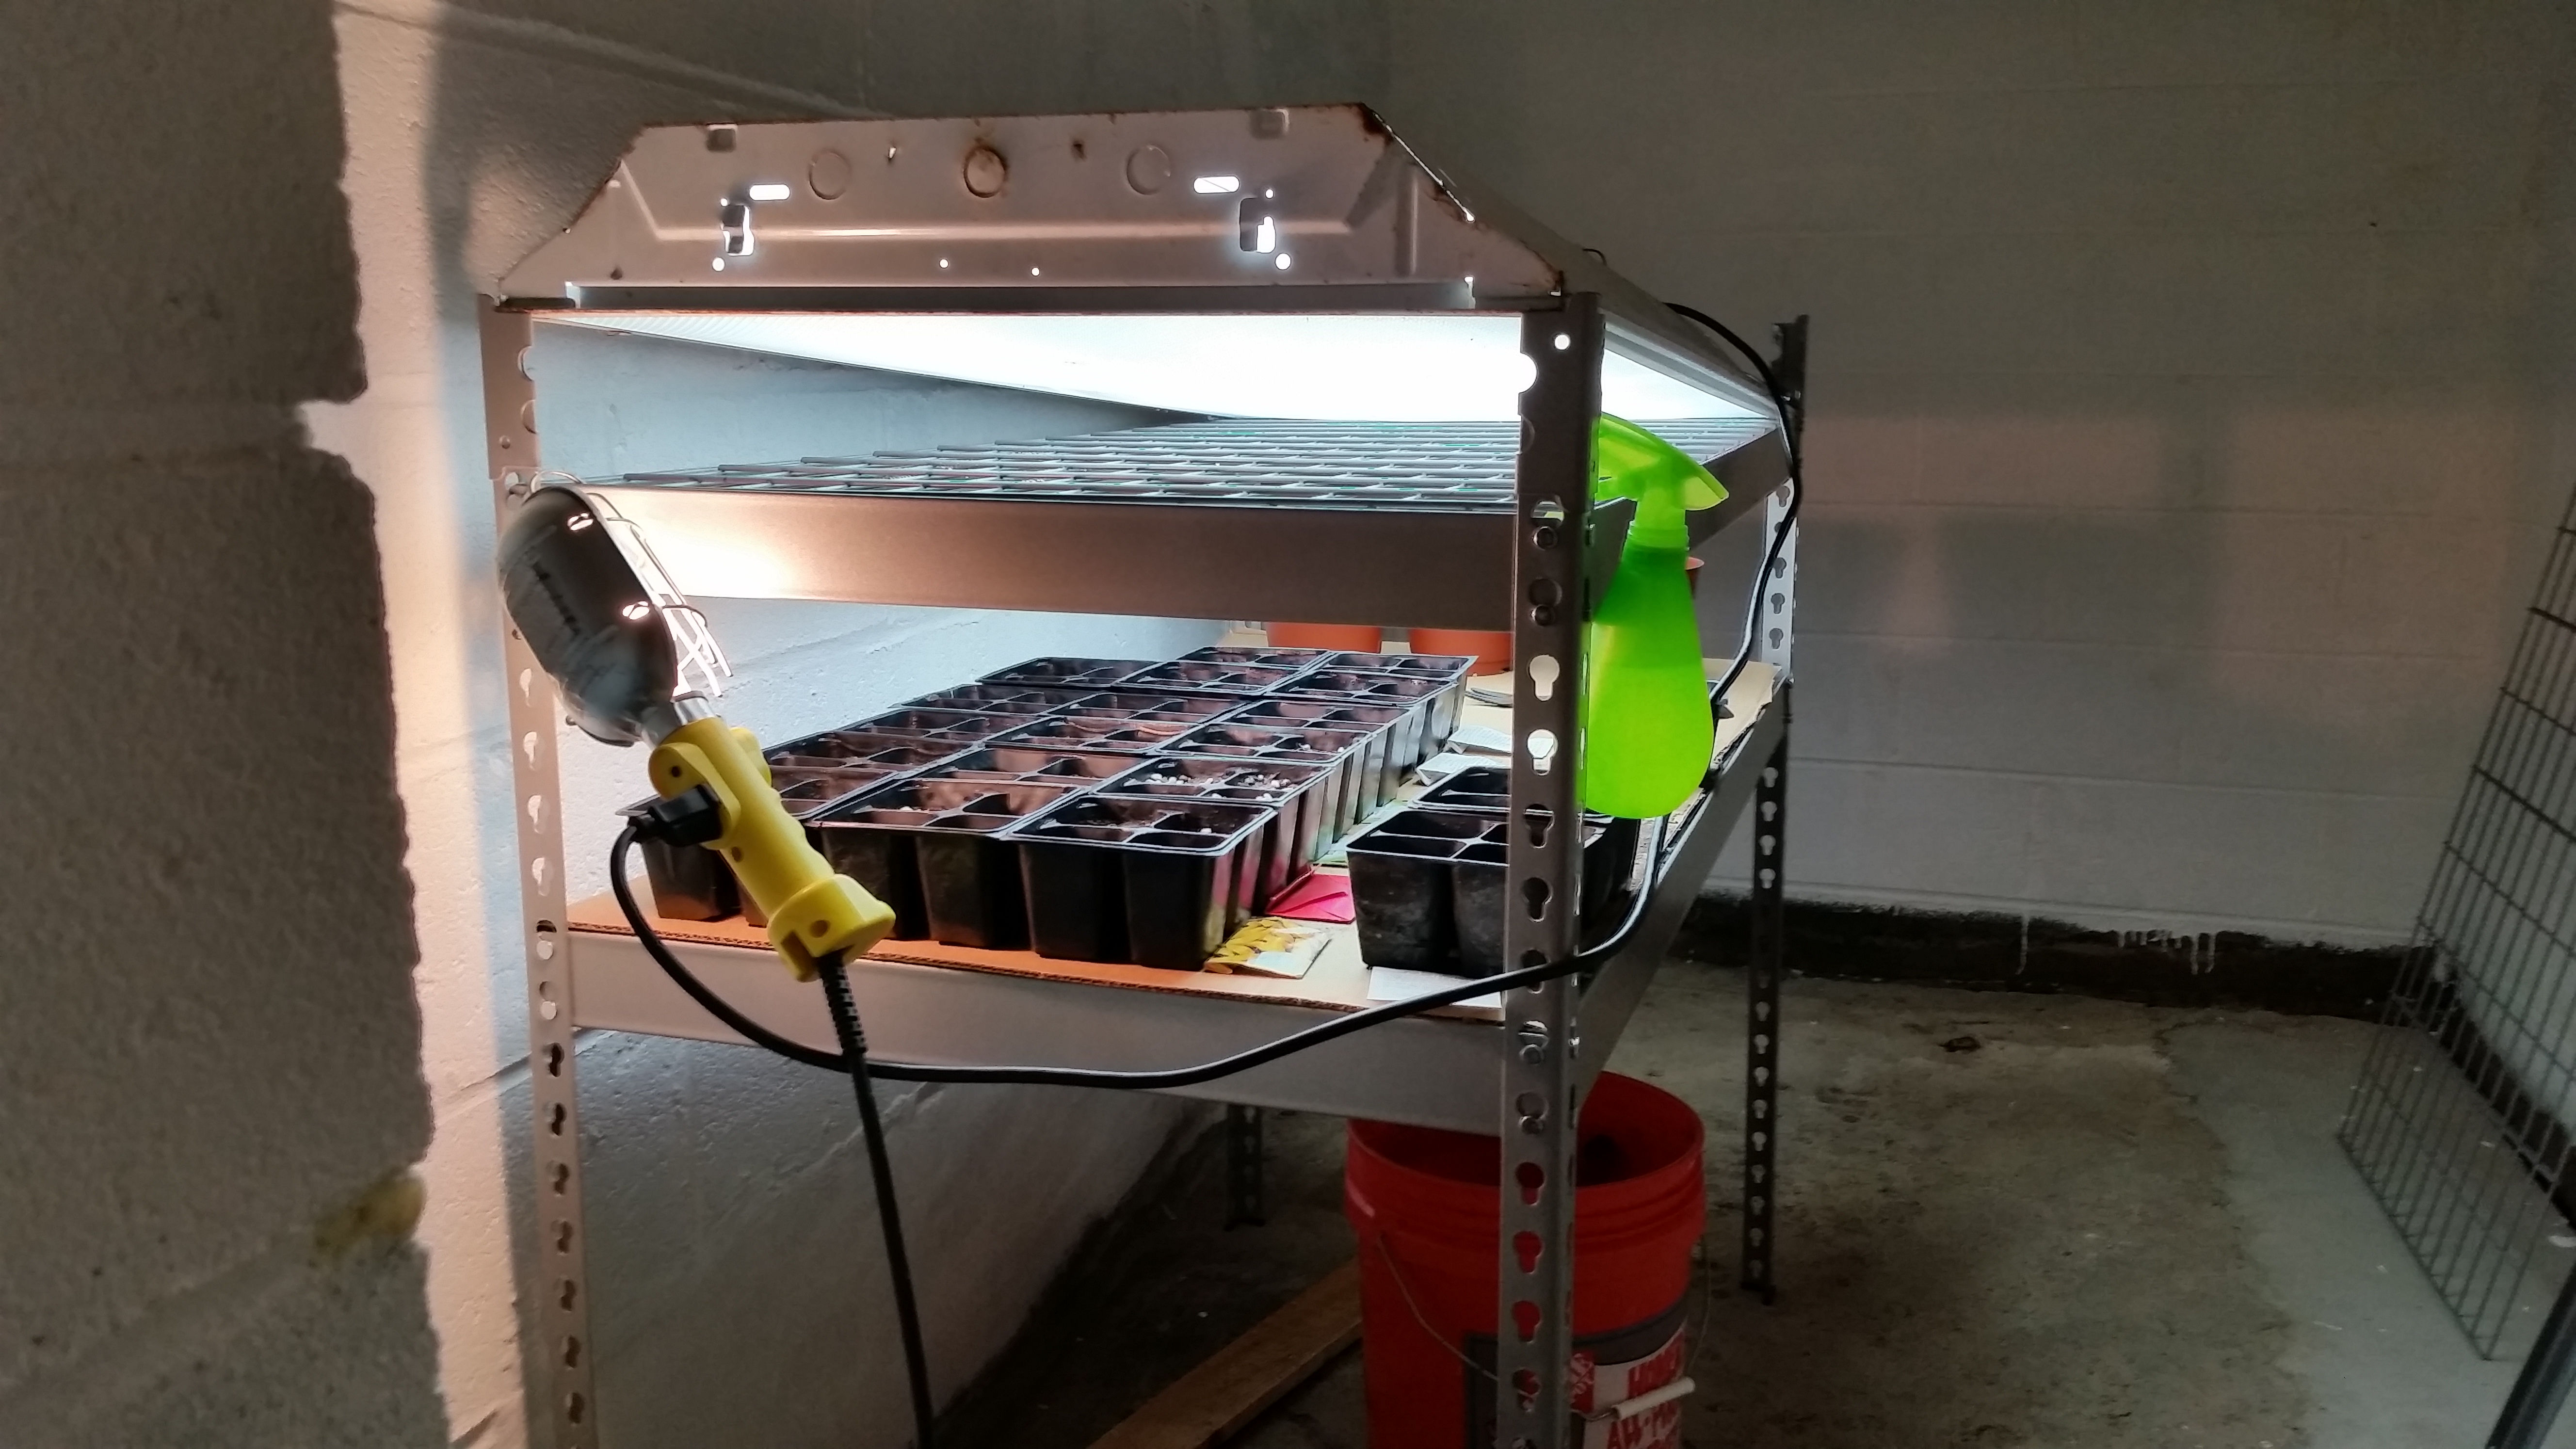
Most seed packets will have basic starting instructions on them, but you can also always look online.  Germination can take from  a few days to a few weeks before you start to see little spots of green in your seed beds. Most transplants usually need 6-8 weeks before they are ready to go into the garden, so March is usually a good time to start them.  Most plants (there are a few exceptions) need a lot of light and warmth. Considering most grow lights are not as powerful as the sun, the closer the light is to the seeds, the better. I’m talking 4-6 inches away.  The further the light is from your plants, the less light they get, causing them to grow super fast to reach the light to survive, becoming “leggy”. This is not healthy for them, as they become very tall and weak/flimsy.  You should make your lights adjustable, if possible, and raise the light as your plants grow. Give them at least 14 hrs of light a day to start.  Most Halogen lights will work fairly well and are inexpensive, or you can buy grow lights specifically for growing plants indoors.

Keep an eye daily on your plants and follow specific instructions for each type, don’t over/under water them, and try to stay close to their ideal germination temperature; most plants like to be around 70+F, but some prefer cooler around 60F.  As your plants start to grow, try to blow on them, or place a gentle fan in front of them for a few minutes a day. This will strengthen their stems to accustom them to the breeze outside.

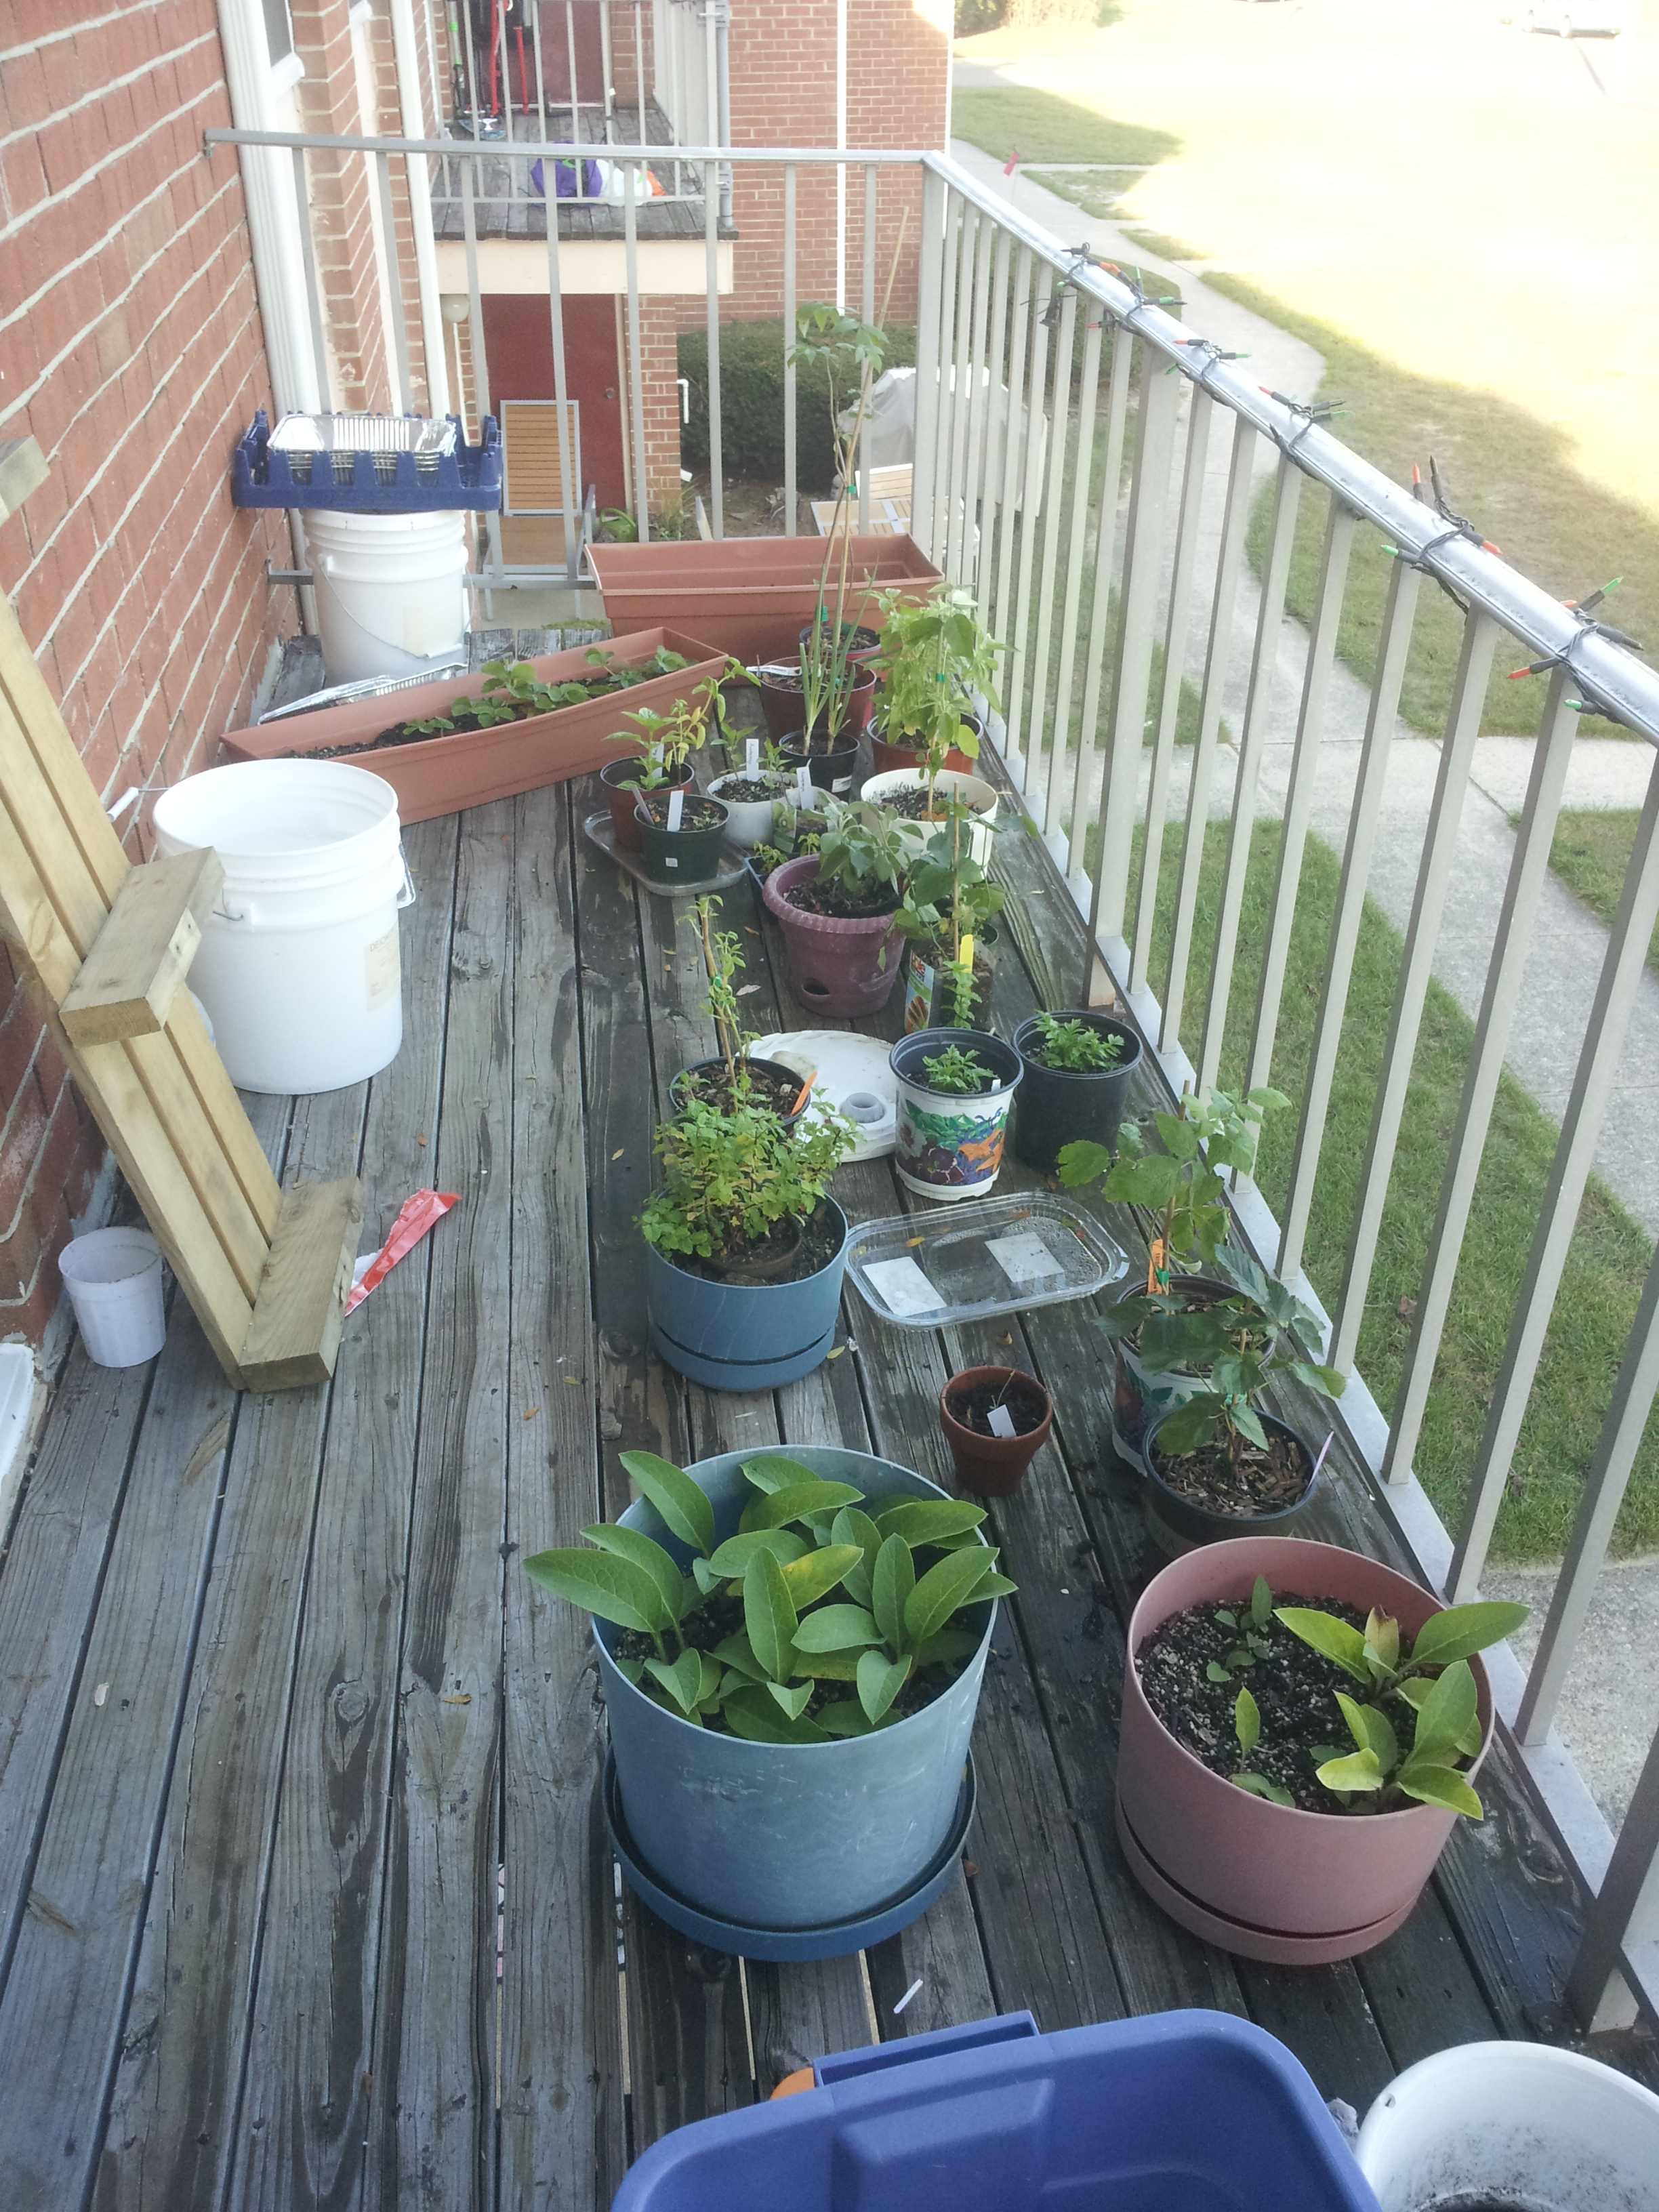
About a week before you intend to plant them, you must “harden them off”. This is like an initiation or adjustment to living outdoors. You must put them outside under indirect sunlight for a half hour or so each day, gradually increasing the time they spend outside until they are accustomed to the brighter sunlight and wind.


I started my own tomatoes, peppers, and several medicinal/beneficial herbs.  The tomatoes took off right away, but the bell peppers took four weeks to sprout, with low germination rates. I didn’t get any of my rosemary, hot peppers, lemon balm, or marshmallow to germinate, and i got terrible rates on my dill seeds.  Considering I was gone for two weeks and had everything on automation, I think it isn’t that bad for my first year really trying to do this.  Some didn’t get watered properly and dried out, but I am fairly sure that most of my failure was due to it being too cold. Next year i will have to use some sort of heating tray to keep the soil warm if I do this in the basement.


Skill #1: Composting

compostingstinks-ecomyths-cartoon-web

So, It’s January, and it finally started getting cold. I probably should have mentioned that below freezing isn’t exactly the best time to start composting, but here we are.  Composting is at the most basic level the art of making things rot in such a way that it smells as little as possible, using aerobic bacteria, beneficial microorganisms, and critters like pill bugs and worms, to make a biologically diverse, nutrient rich soil (aka humus) that is like crack for plants.picture_4_-_food_web_of_the_compost_pile

The bacteria that do most of the work like it hot and damp, and a healthy compost pile should be around 130-160F with the moisture consistency of a wrung-out sponge. If the temperature is too low, you might have too much carbon, and a quick fix for that is to pee on it for a few days to up the nitrogen!  This can also be affected by the amount of material you have in your pile, too much and the pile can collapse under its own weight, suffocating the aerobic bacteria that are working so hard for you. If your pile is too small, there won’t be enough material to allow it to get up to temperature and support the critters chewing it up. The universal standard is one cubic meter, or just over 3 feet cubed (trust me, it’s about ten times the amount of material you think it is). There are complex, expensive machines that are supposed to make smaller amounts work, but I’m going to need the material for my garden anyway, and I don’t want to spend $100+ on something that three recycled pallets and a pitchfork can do just as well.

The general rule of thumb is that you want a ratio of 30 carbon to 1 nitrogen for the ideal mixture to allow it to break down quickly without starting to reek.  Carbons are your “browns”, basically anything dead or woody like mulch, fallen leaves, straw, cardboard, newspaper, sawdust, etc.  Nitrogens are your “greens” like vegetable and fruit scraps, leafy plant trimmings, weeds (before they flower/seed or you will get weeds everywhere next year!!), and even coffee grounds. Animal manure, seaweed, blood(meal), and urine are among the lowest c:n ratios (most nitrogen). Here is a website with a good starting list of  c:n ratios. Too high of a carbon ratio and your compost pile will take very long to break down, but if your ratio is too low (too much nitrogen) your pile will get all slimy and stinky, which also means it’s unhealthy.  Many people say meats, dairy, and oils are forbidden in compost piles, but I think thats more for pest management than it actually doing any damage to your pile, since they all break down the same. My philosophy is, a little bit never hurt anybody, so I’m not going to worry about a little meat or dairy in my pile unless it starts to smell. If I happen to feed a few of the local critters, they’ll only turn the pile a little for me, until the Furry Tinkerer chases them off. (Side note, I know she’ll keep the garden largely pest free for me this summer, she always chases off the squirrels and already caught a rabbit in the back yard).

Composting can be very complicated if you get into higher level science, tweaking the microbiology can yield customized composts designed to benefit specific products such as strawberries or tomatoes.  But for the beginner, there are two basic approaches. The first is the ‘set it and forget it’ approach, where you gather all of your material, wet it down, mix it up, and leave it alone for a few months, checking on it occasionally to fix any problems if it starts to dry out, cool off, overheat, etc.

Not me, or my picture, but a good illustration of two stalls needed for turning compost.

The other popular beginner method is the Berkeley Method. Here you can get a completed compost pile in 18 days, but it takes a lot of work with a pitchfork. On Day 1 you stack your pile and wet it down so it is slightly damp throughout. Then you leave it alone for the microbes to colonize the pile and start to heat it up. On the fourth day, you get your pitchfork and invert the pile, taking everything from the outer layers and put it in the middle (you will need a second compost area) and stacking the center of the old pile onto the outside of the new one. Check for moisture and water if necessary. You repeat this every other day until you hit 18 days, for a total of 8 turns, or roughly 4 hours of work. That seems like a lot of work, but you condense 6-12 months of waiting into 18 days.

help

So, I’ve started collecting material for my pile, and like I said it’s a lot more than you think it would be. To get enough for more than one pile before I need it this spring, I’ve started handing out buckets at work to collect peoples’ food scraps, I hit up the local horse stable occasionally for some nice aged manure, and save all my own food scraps of course. I’m going to be contacting a local lunch shop to see if I can’t get their food scraps to kick my composting into overdrive, and I’ll have to tarp the pile to help keep it warm in this weather.

Have you ever composted before? Try it! I’ve already impressed Lady Tinkerer and my parents with how little a yard full of aged horse manure can smell, compost is nothing compared to that.

The Year in Review

So, it’s been a while, and that’s my fault. I started this site at a big transition point in my life and thought I’d be able to keep up with everything I’ve wanted to try. I spent a lot of time getting ready to move into my house and adjusting to a new job. I’ve made several batches of cider and wine, I think my strawberry wine is my biggest success so far!  I ordered five fruit trees and several more plants (I will update soon about putting plants “to bed” for the winter) and built an indoor a-frame grow stand to try my hand at growing microgreens and protect my more sensitive/younger plants that I began growing at a bad time of year.  I now can and dehydrate excess food, though I will readily admit canning is a huge pain, so I got a pressure cooker that can pressure-can and will control the temperature and pressure so I don’t have to sit in front of the stove for hours at a time! I had a worm bin that was working fairly well, until i had to leave for vacation and they all died; I will likely start a bigger one up this spring now that I will have the space with a true yard.

The last year has kept me primarily very busy with the house, I’ve installed a more efficient wood burning stove into the old fireplace, made several repairs to the house which was ruined by renters, replaced the kitchen floor, completely remodeled the bathroom, had a tree cut down from the back yard to let in some light for my future garden (and saved the entire thing for firewood and mulch) and then fenced in and cleaned up the back yard for our new rescue pup, and turned one of our spare rooms into a full on pantry with shelving and two full freezers.

This fall I got a mother-load of free mulch from a local tree trimming company and several trailer loads of horse manure from a local stable to prepare the garden for vegetables next spring. I had so much mulch I figured I may as well mulch the entire perimeter of the property and certain key areas of the front of my property to keep it clean but also establish plenty of beds to plant into. I plan to plant many varieties of productive plants into these mulch beds this spring beyond what will be going into the garden. I’m going to over plant like crazy and STUN them (Sheer, Total, Utter, Neglect); whatever survives without too much work will be used to grow stronger plants next year, and whatever dies will be sent to my new compost pile!

I make my own shampoo, clothes washing detergent, deodorant, and toothpaste,  and support a family that makes soap by hand.  For this  Christmas, me and Lady Tinker crafted homemade gift baskets for everyone, including a crocheted basket for the gifts and a soap scrub, bath bombs, homemade sugar scrub, and an amazing new comfrey-plantain healing salve which will definitely be a steady item in the Tinkerer household.

Writing this all out, it looks like I have done much more than I initially thought I did. But trust me, there is much more to come this year! Follow me on my journey, and hopefully I will inspire you to try something new that will lead you to a more self-dependent, fulfilling lifestyle.

My new plants

When I eventually own my own house, I want to develop and have a food forest, which is a type of low maintenance, self sustaining (little-no work) garden that produces hundreds of pounds of food in the first few years, and thousands of pounds of food year after year after the system matures.  The primary principle of a food forest, is to find a way for every organism to serve at least one purpose, preferably two or three; it could be a food crop, or provide habitat for predators like birds(pesticides without chemicals that you don’t have to pay for), attract pollinators, etc.  It has a high initial cost, since shrubs and trees typically cost more than little tomato and pepper plants, but after two to three years, they more than pay for themselves, and even become profitable! You could consider it an investment, both financially, and for your own independence/health.  One to three years of hard work and investment can lead to 20-80+ years of food that you don’t have to pay for and is healthier than anything you could ever find in the grocery store.

Schematic of the layers of a food forest from Wikipedia

Since I live in an apartment, space is at a premium, and my plan was to get a head start, (since younger plants cost less than older plants) and  start growing and propagating certain plants that grow easily from cuttings. Propagating from cuttings is basically when you cut off the green, new growth from a plant and stick it in the dirt, and it grows roots and becomes its own plant, without having to buy another one. What most people don’t realize when they start a food forest is that the shrubs and herbaceous plants wind up costing a lot more than the trees, since they are smaller and you need a lot more to fill in the same amount of area.   So, in the spirit of getting started now and not making excuses for not having my own place yet,  I went ahead and ordered some berry plants that i plan to propagate heavily this next year, and turn 8 fruit bearing plants into 20+ that i can plant when i have my own place that will provide more fruit than I could ever want. I got two blackberry, raspberry, and elderberry saplings , plus a goji berry and autumn olive. All of these are easy to reproduce from cuttings, which is a quick/easy way to turn one plant into many plants within a year.

My Apartment food forest