Category Archives: Root Cellar

Root Cellar Complete

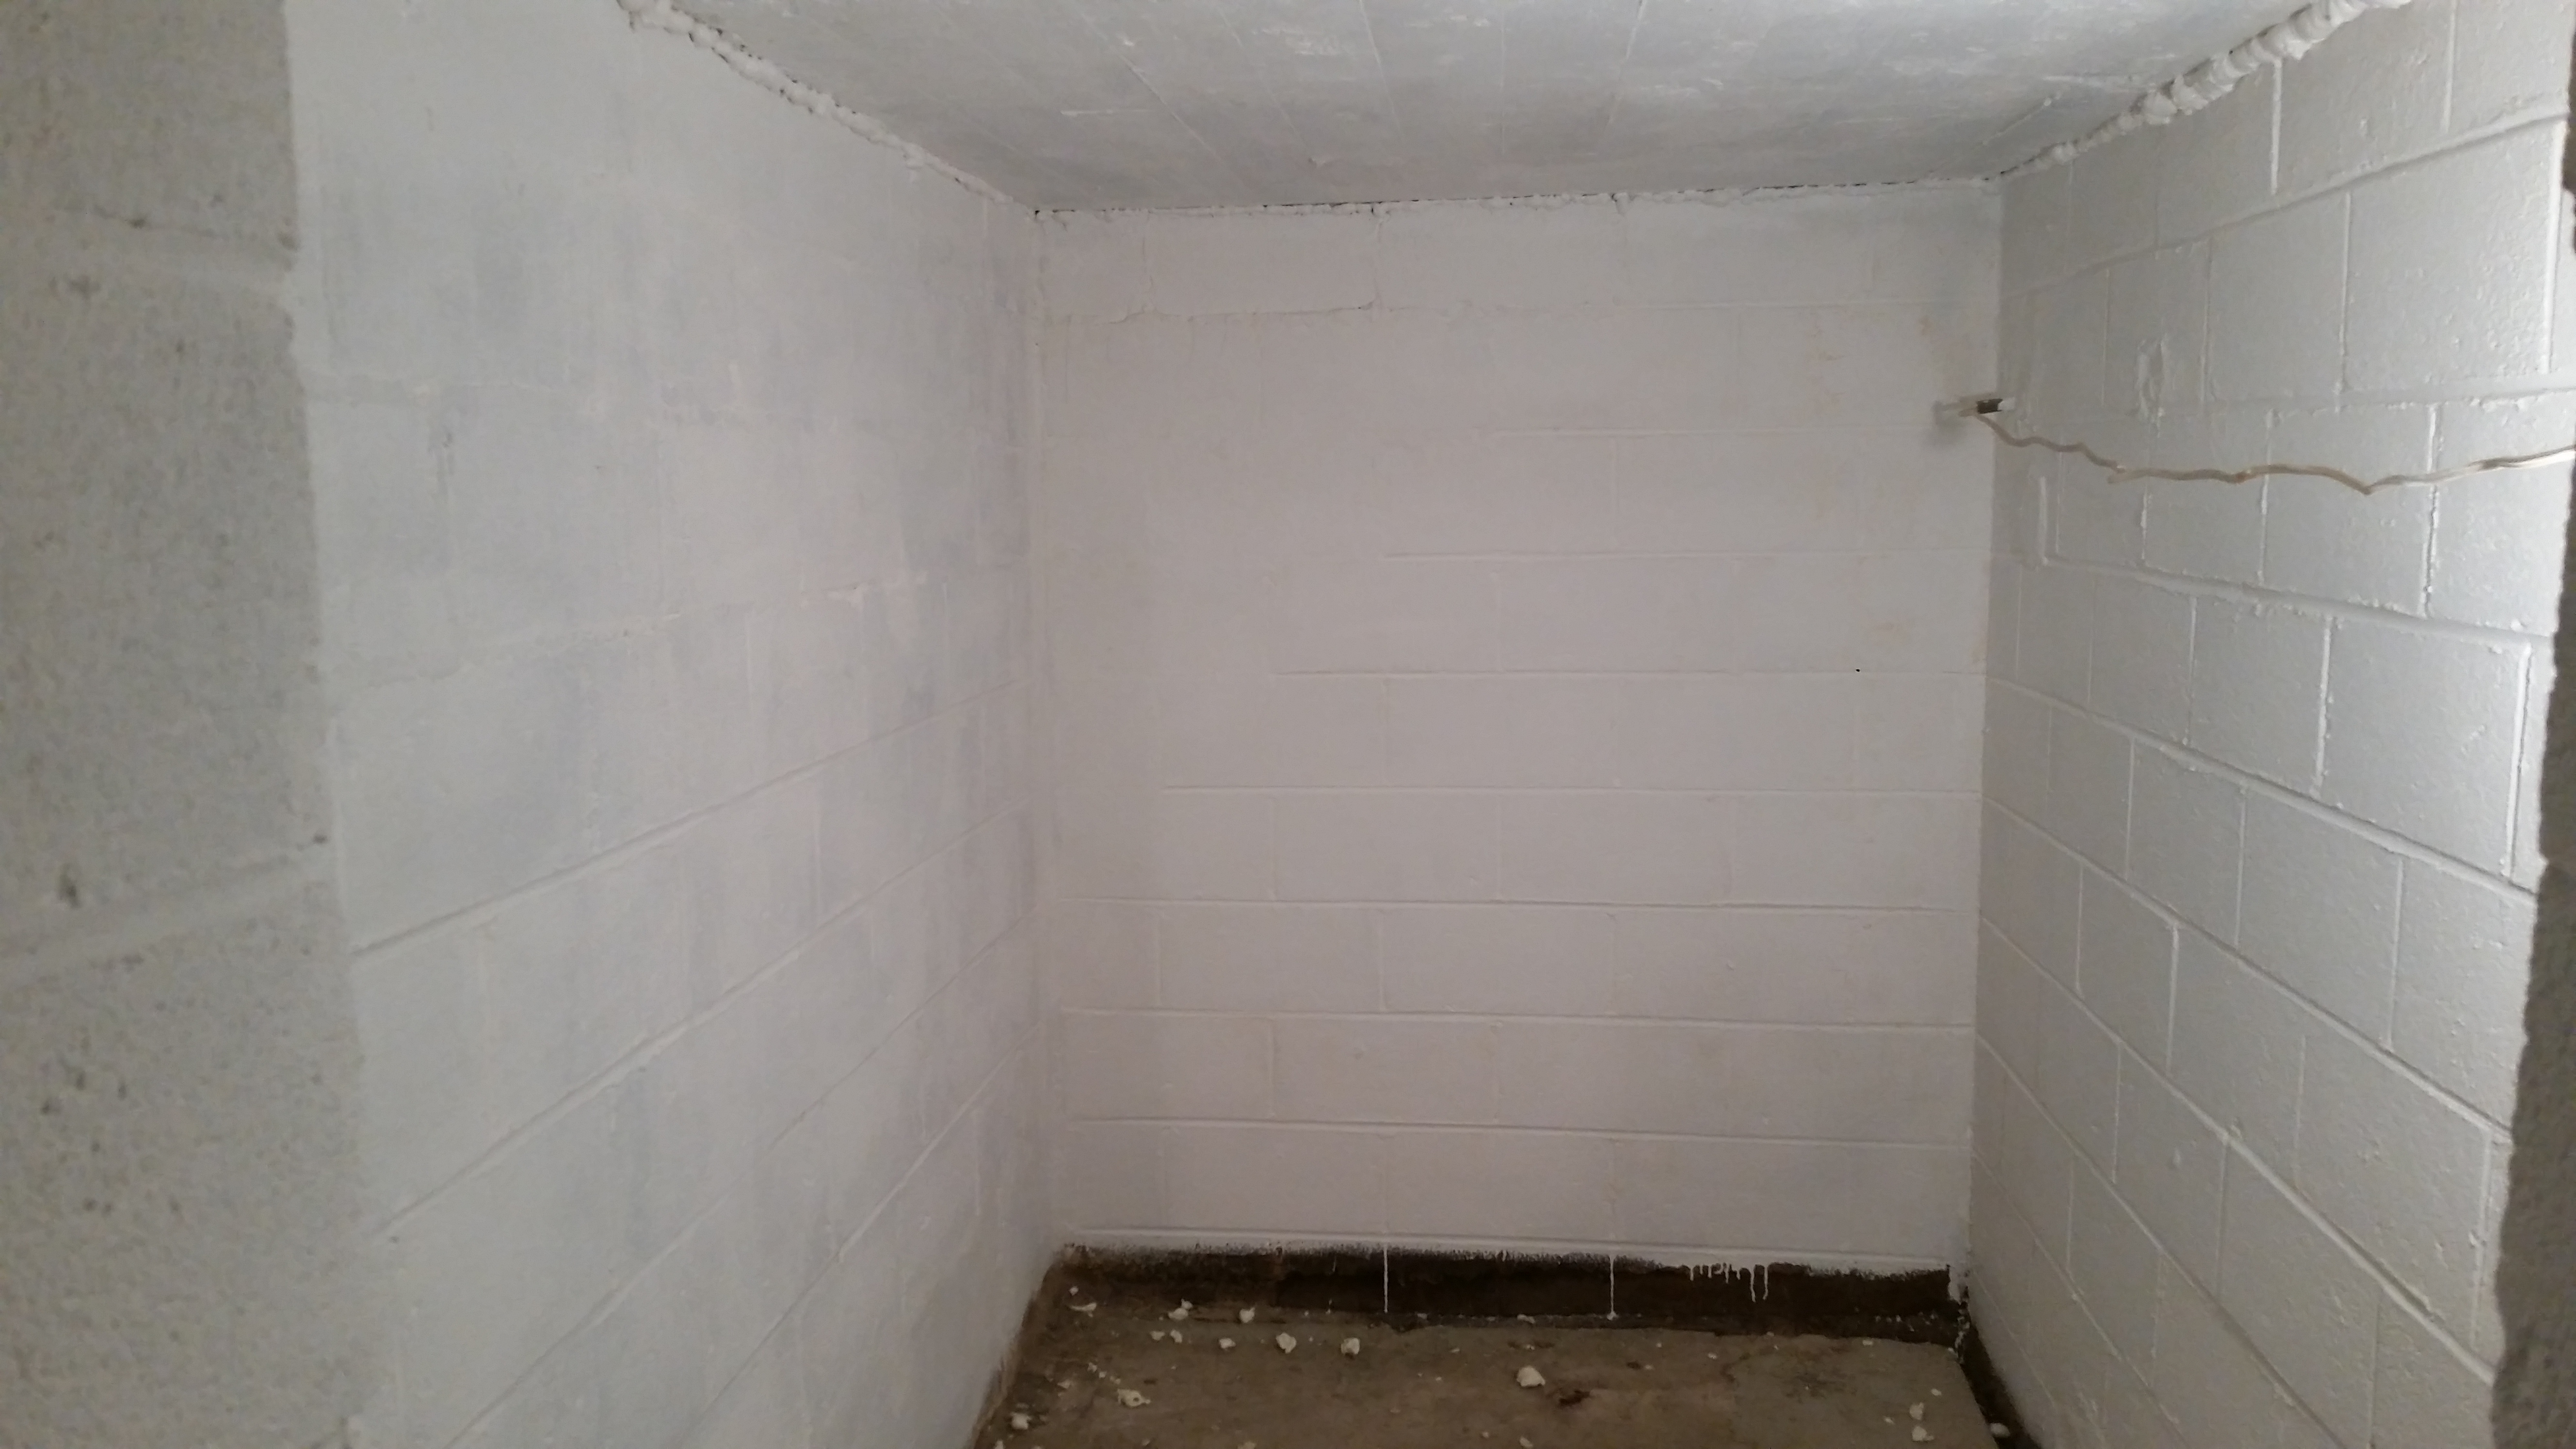
It’s finally done! The plants are out, the room is cleaned, the food is in!

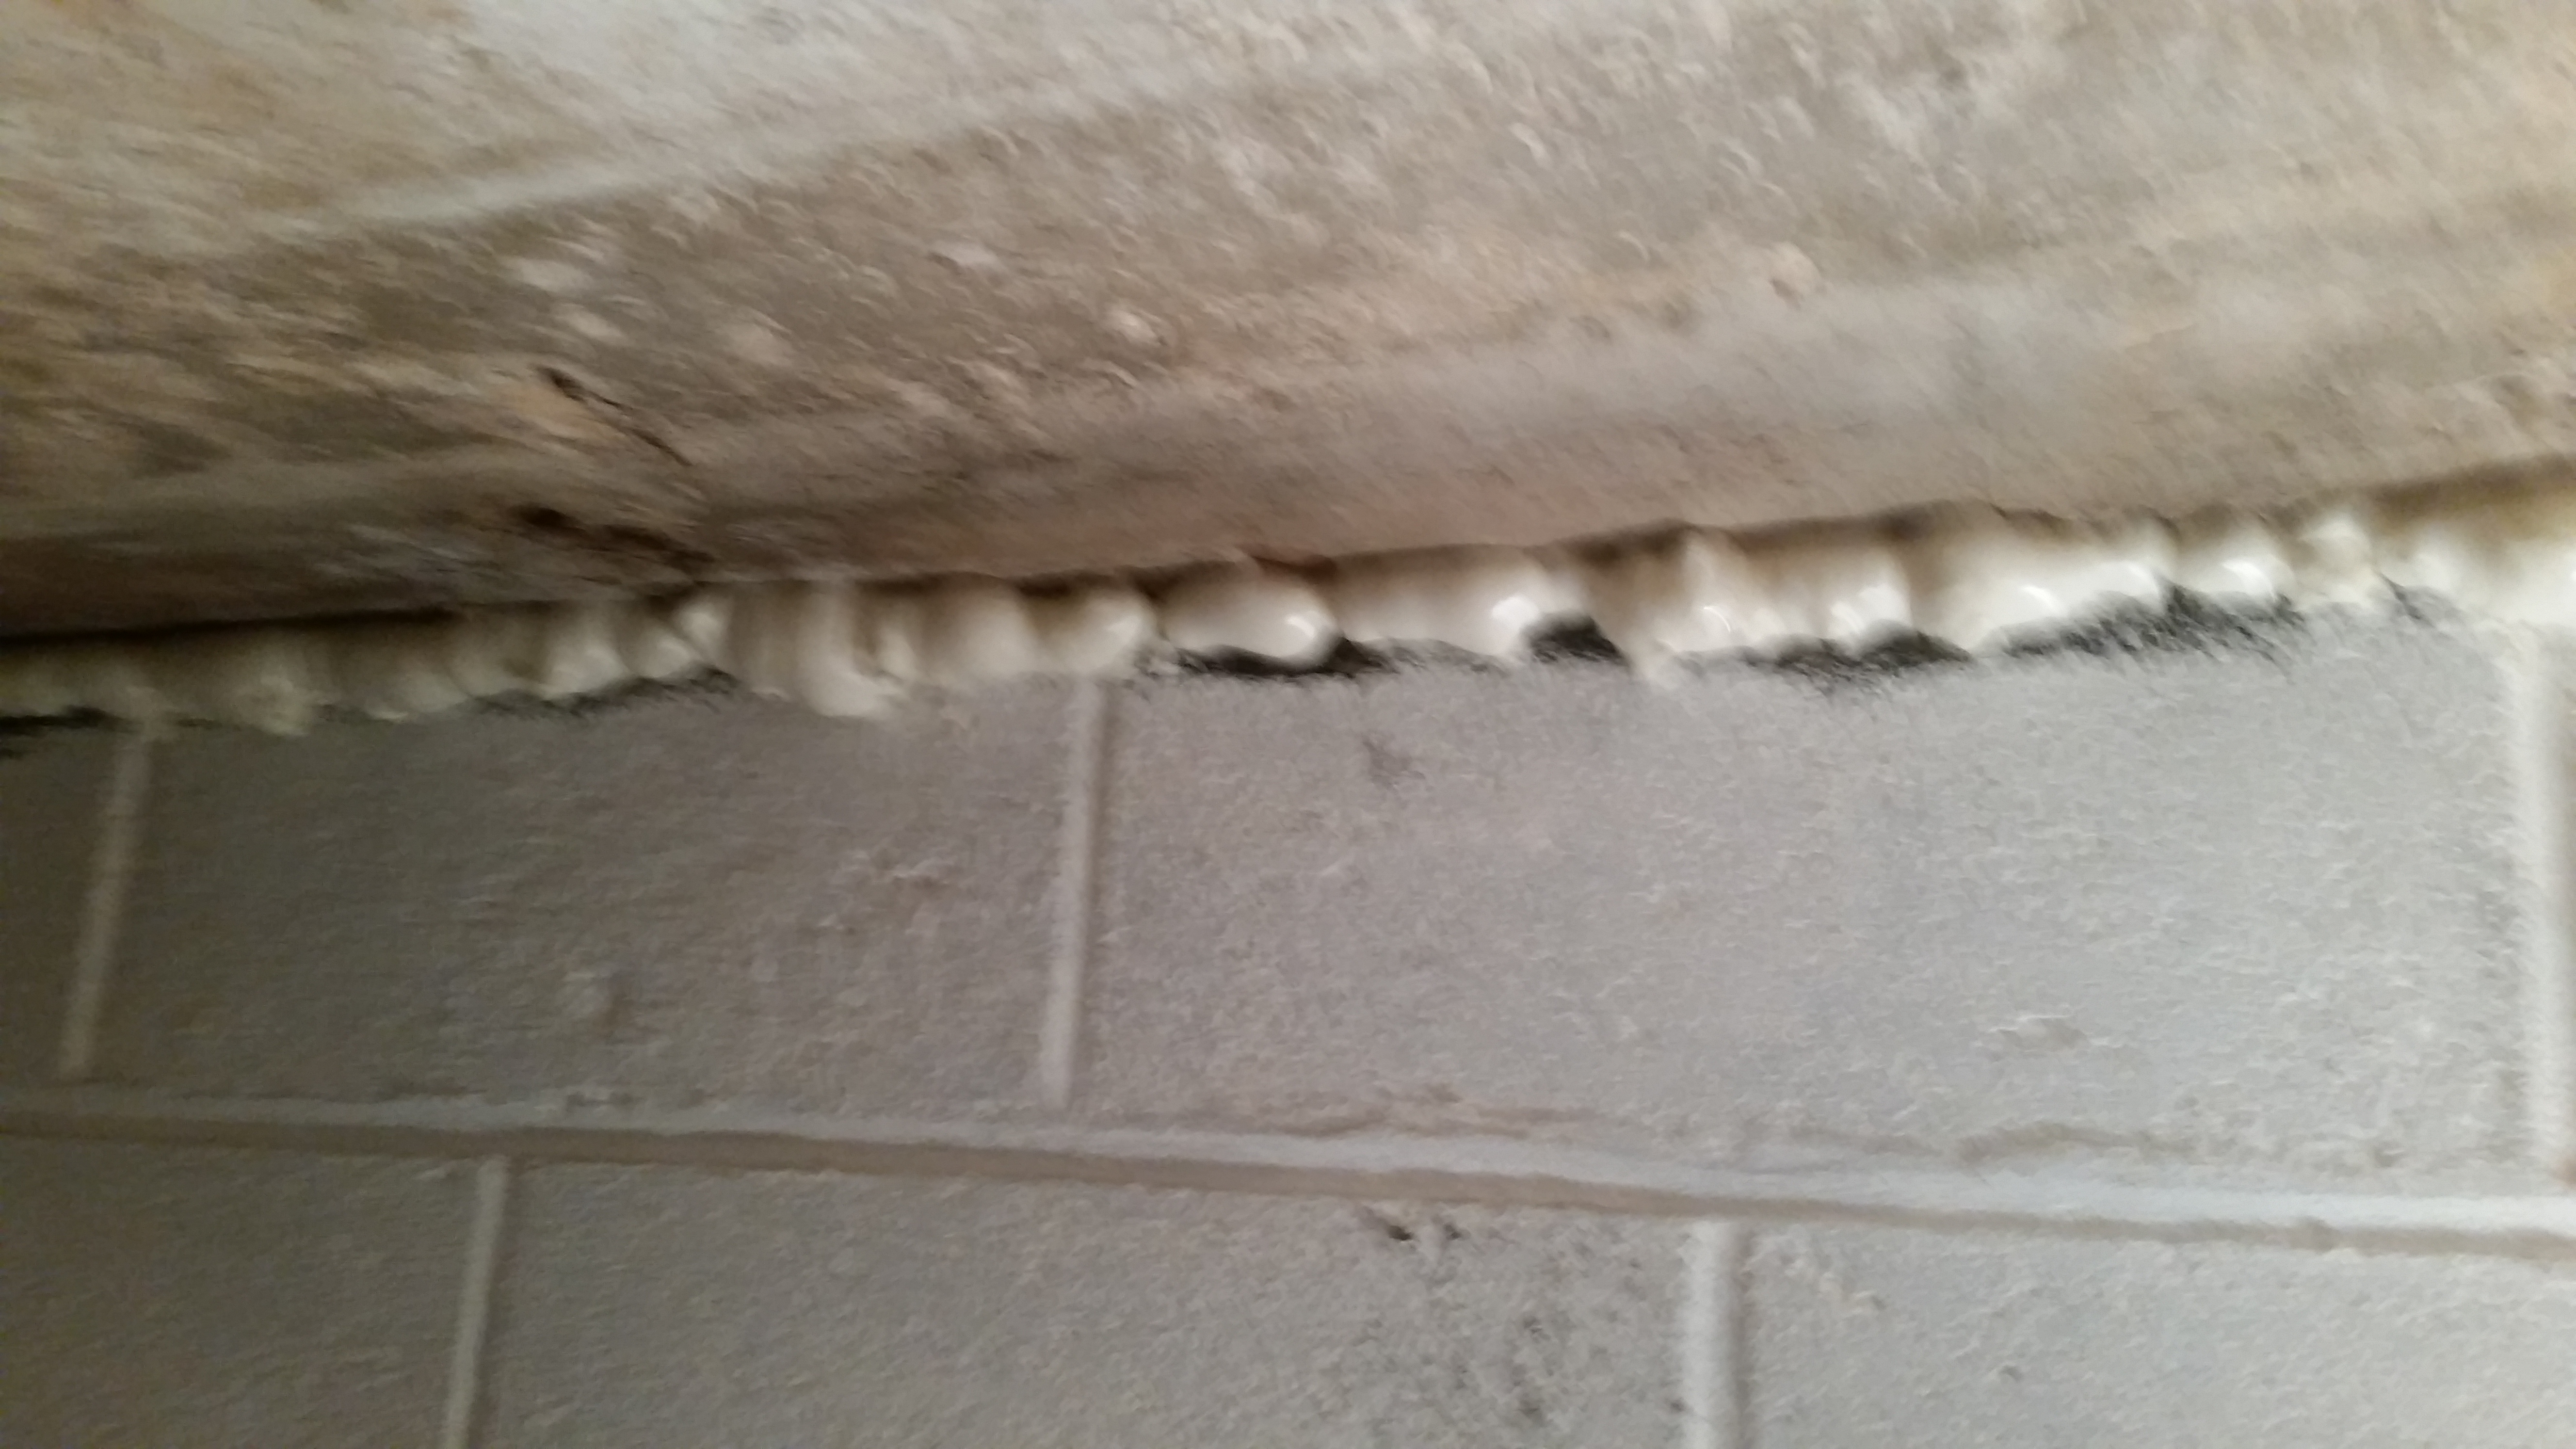
As I mentioned in the earlier posts about root cellars, they need to have good ventilation to prevent spoilage and growth of mold/mildew. I accomplished this by breaking two holes into the walls, one outside and one into a secluded portion of the basement.  I used pvc piping and a floor drain with window screen to keep any insects from getting inside, then sealed it with spray foam insulation.  I did the same thing minus the floor drain (only screen) for the vent into the basement. This will allow a cross breeze, which can also be manipulated for a limited amount of temperature control.2016-06-23 20.06.252016-05-30 15.37.19

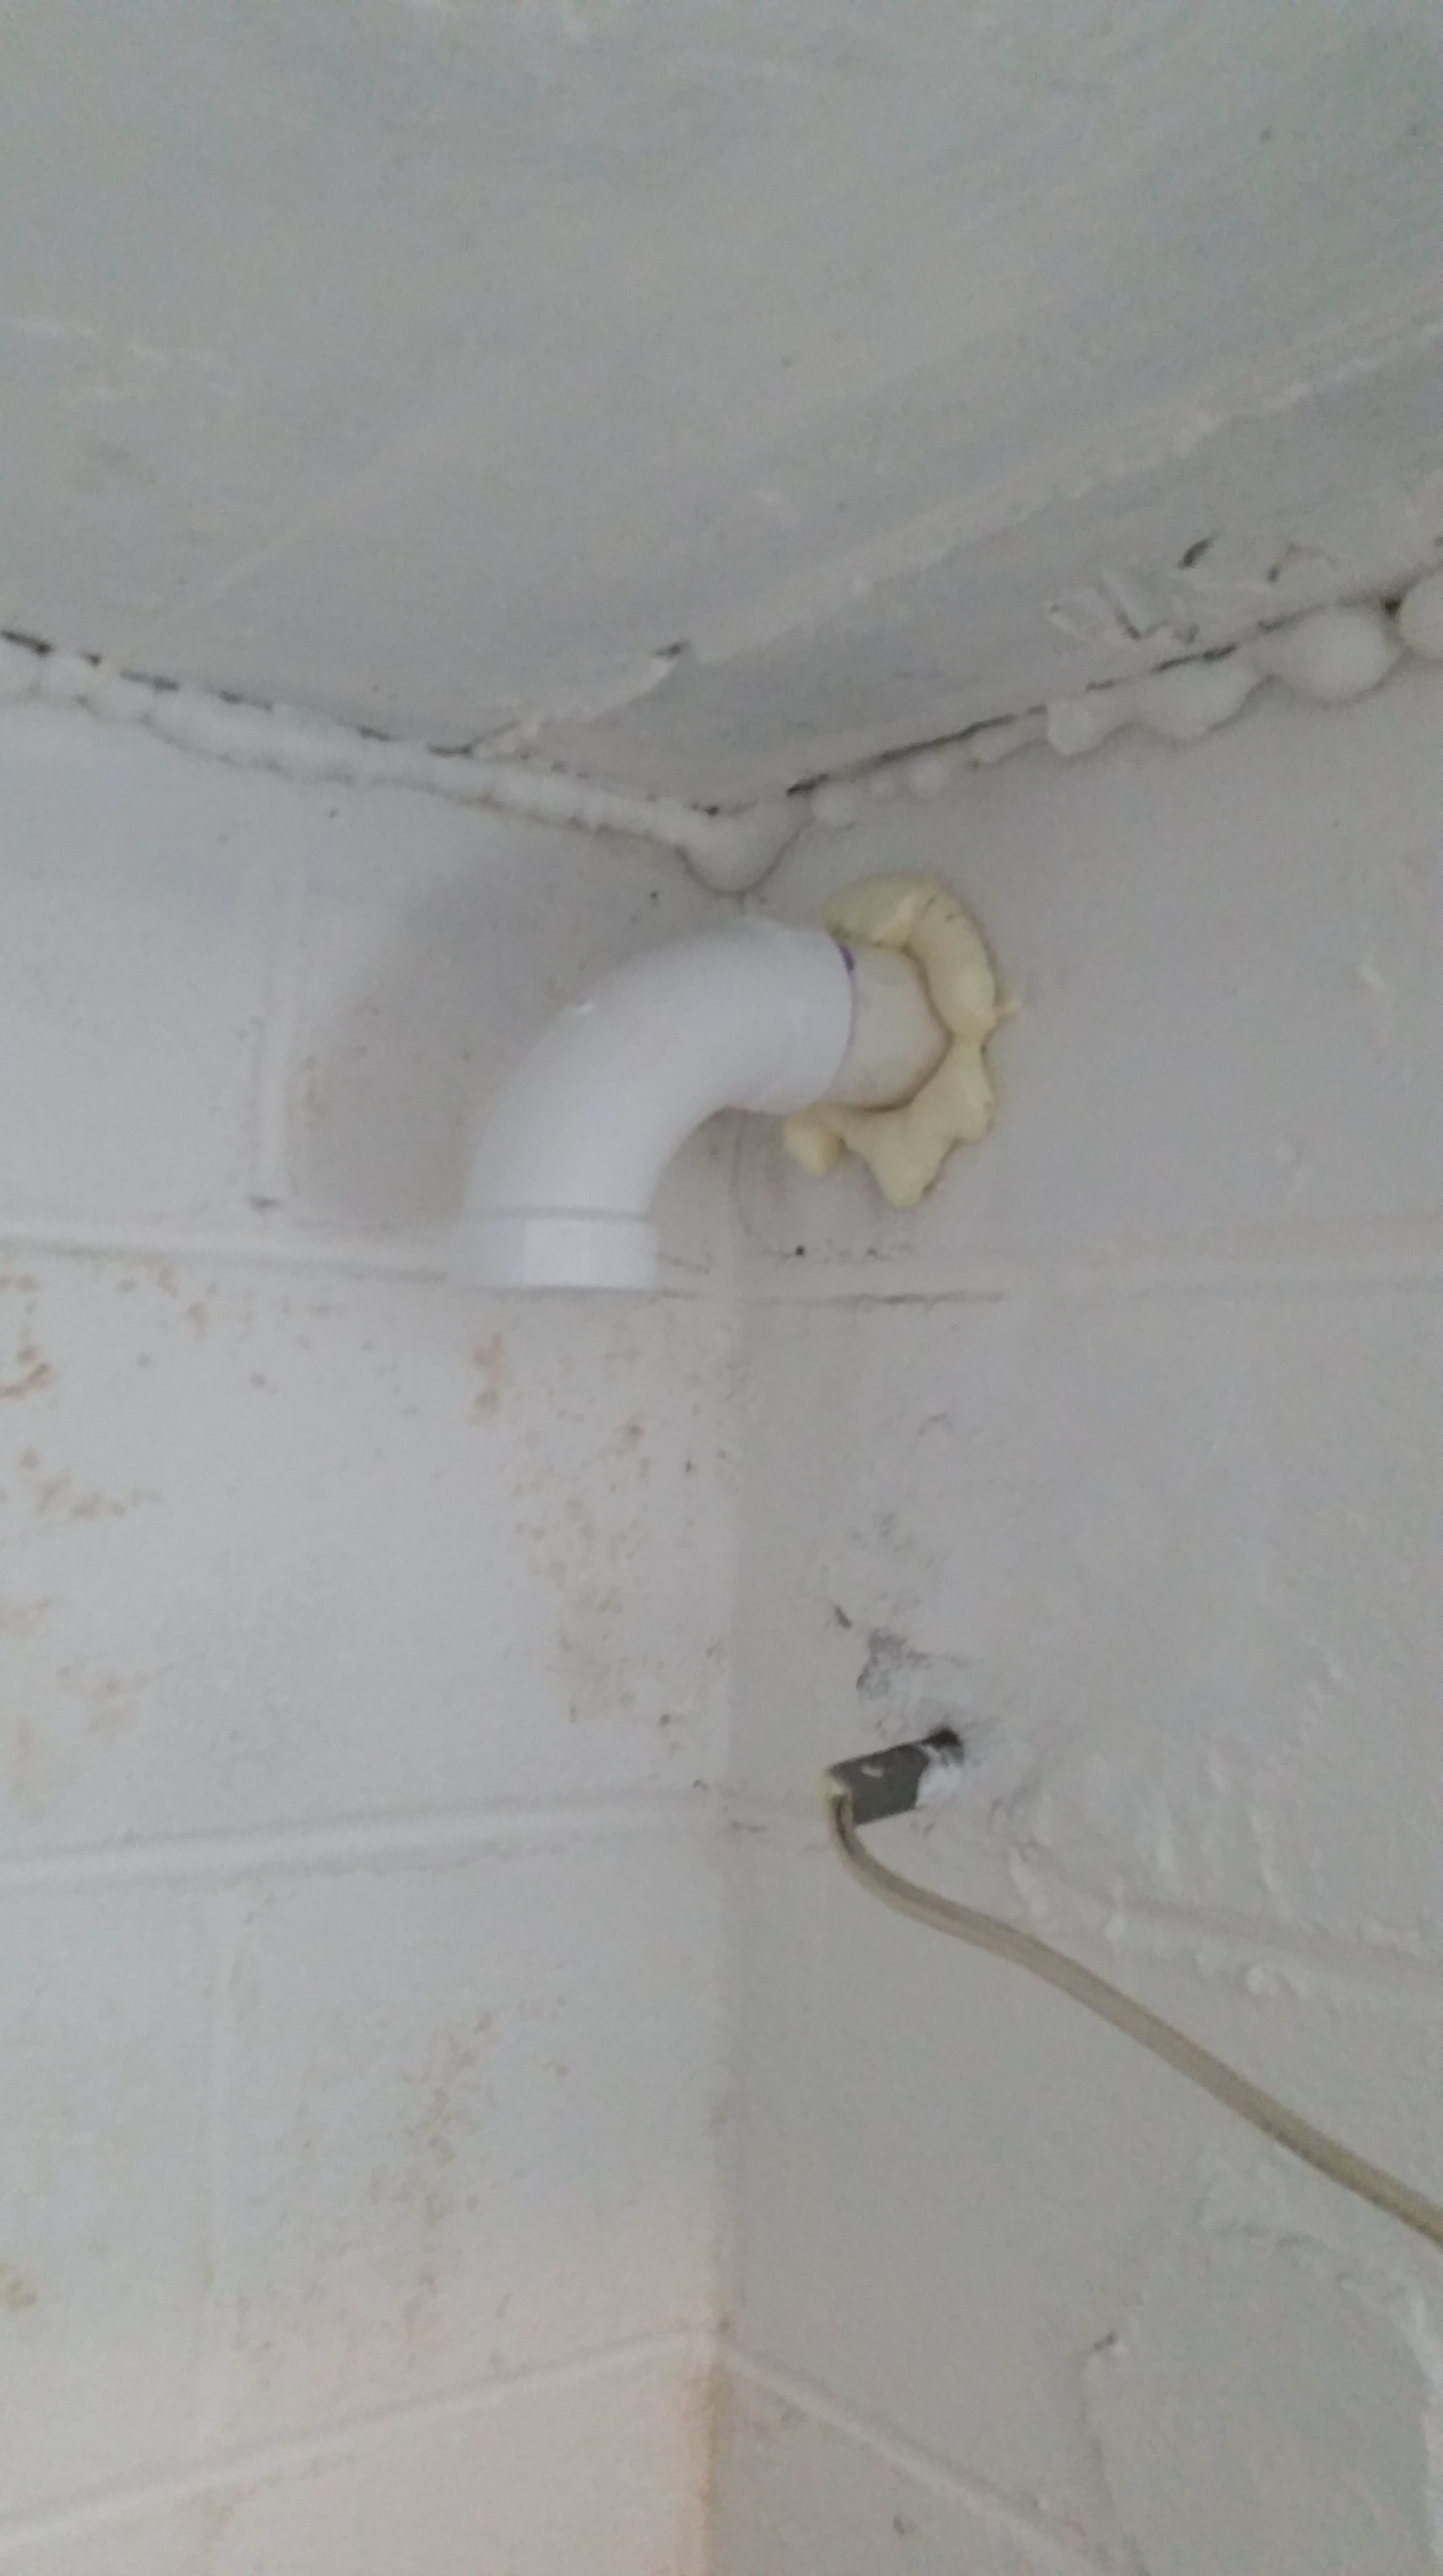
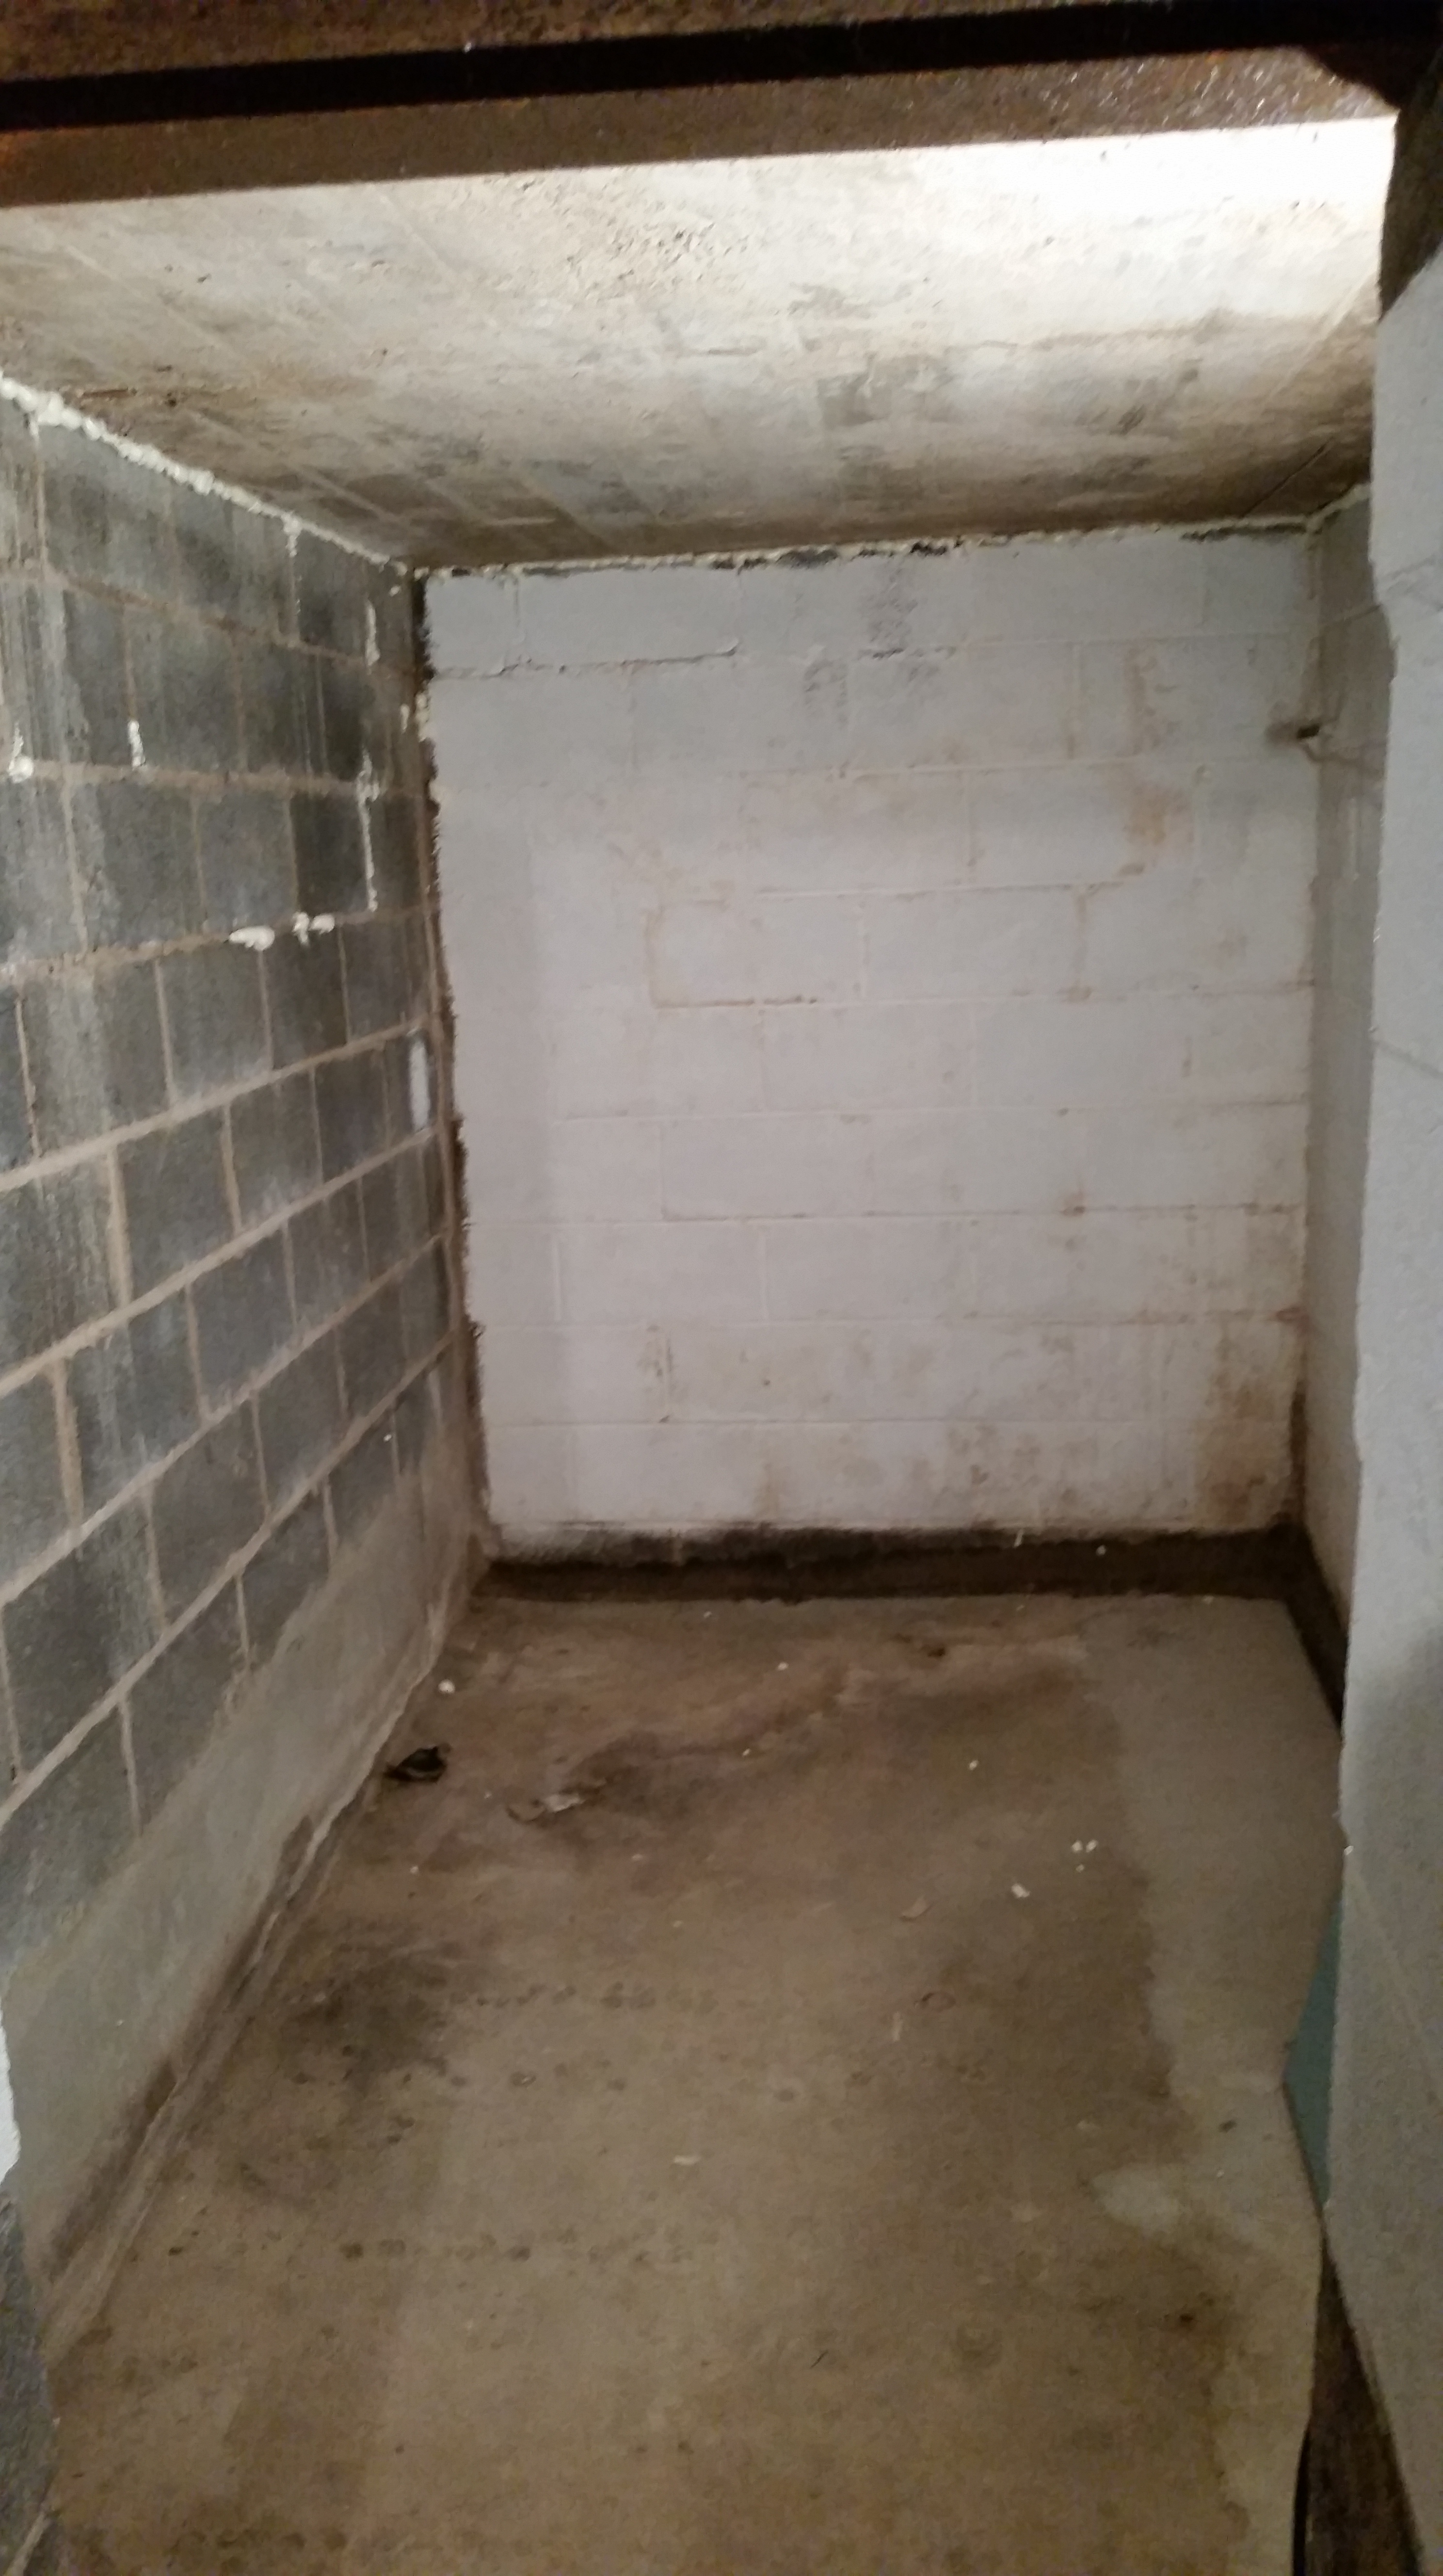
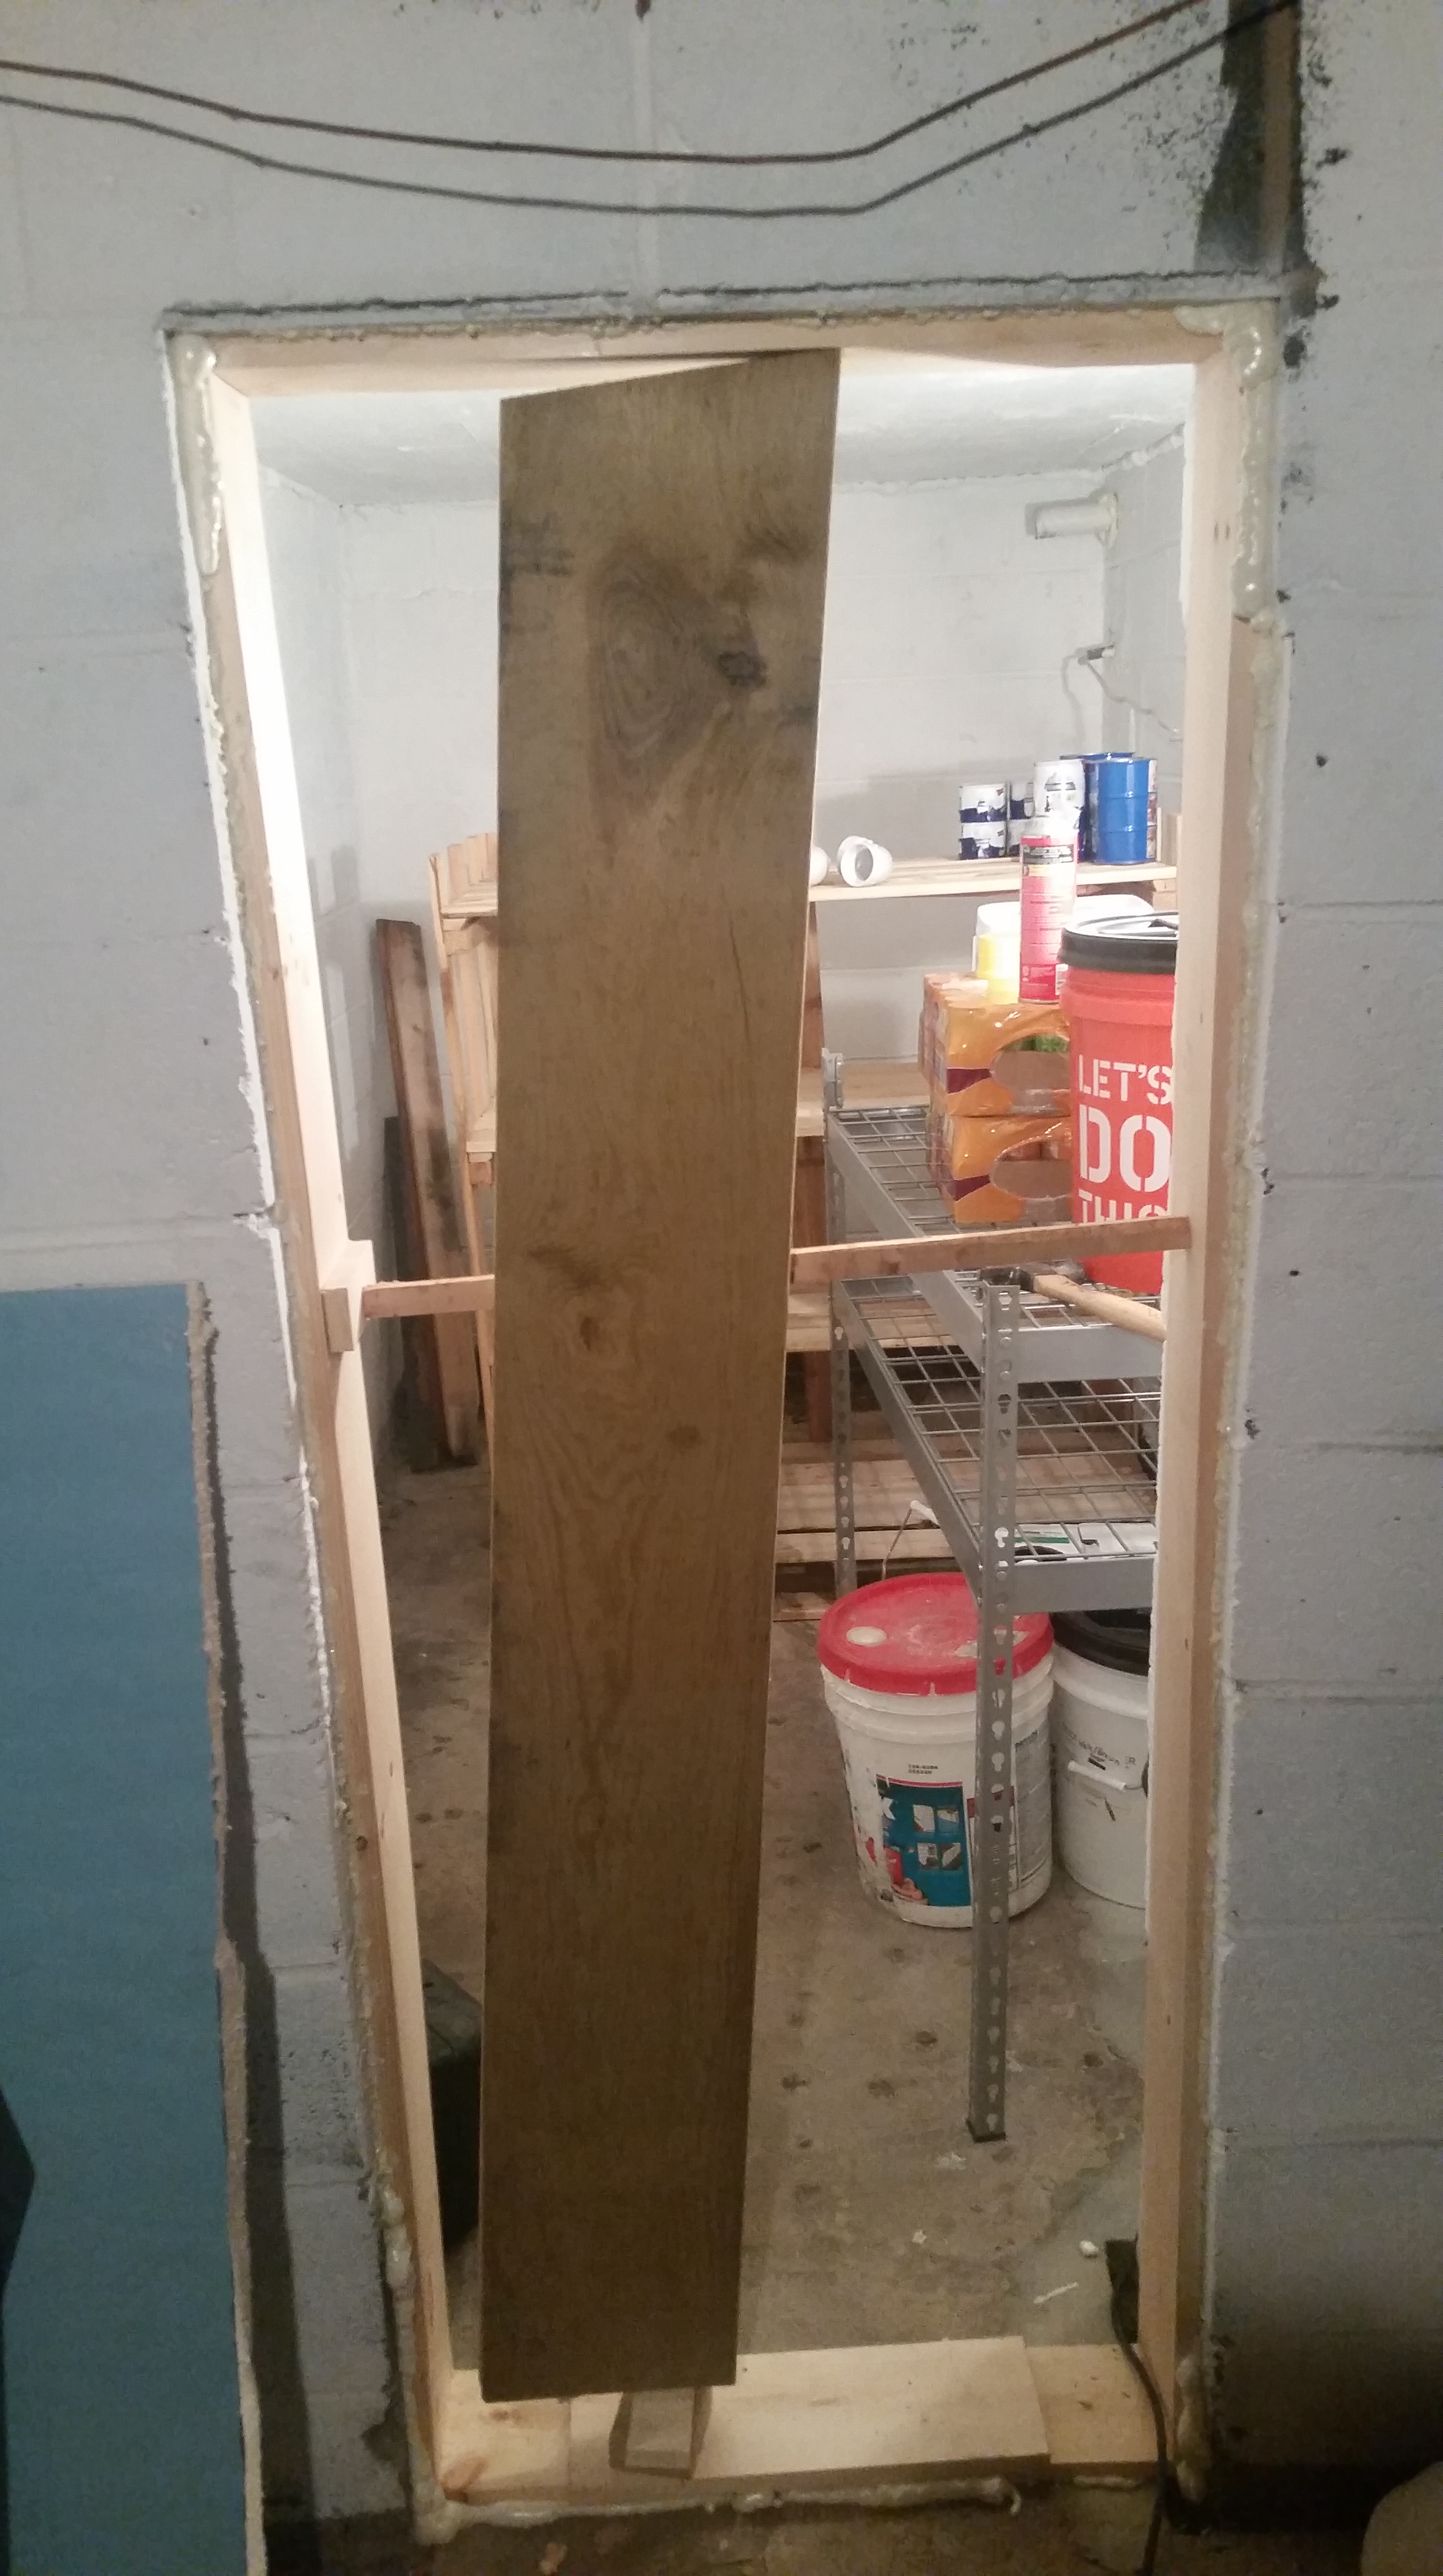
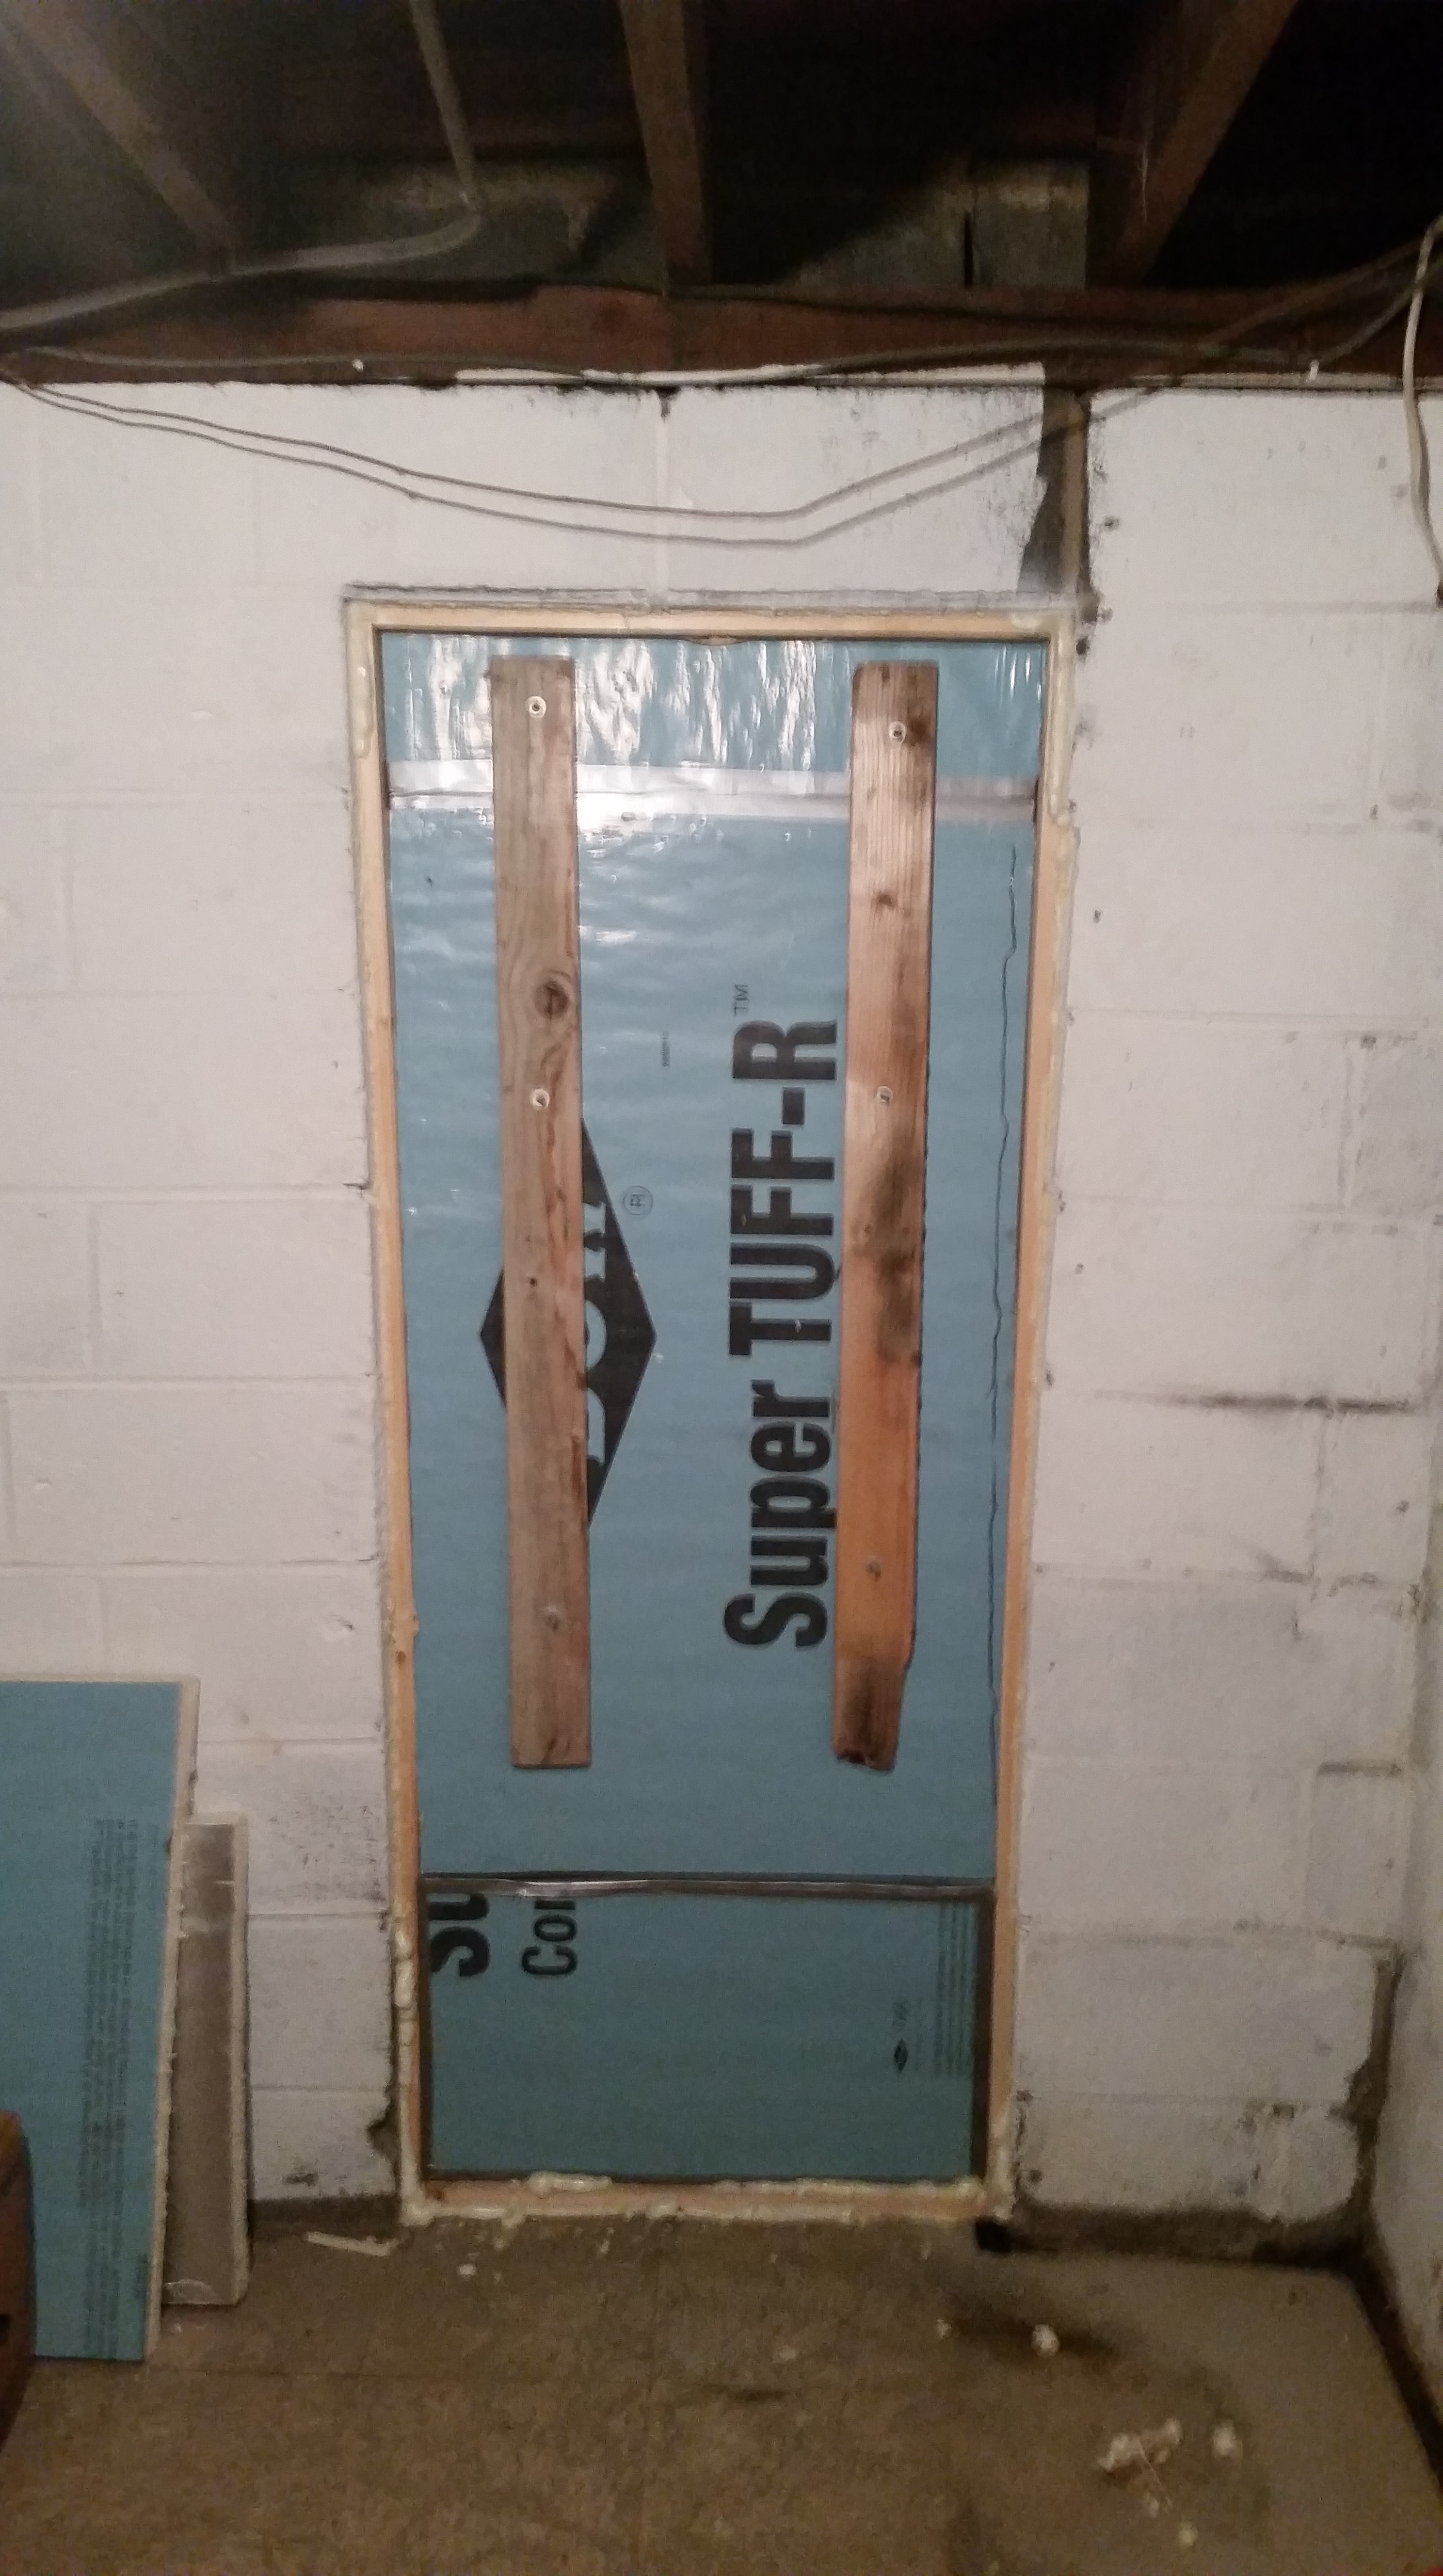
After installing the vents, I also had to make it bug proof, both for food security when i have fresh/raw produce, and so lady tinker will feel safe going down there.  I accomplished this by waterproofing the entire room and sealing all the cracks. I also had to install a bug-proof doorway, which I cheaply accomplished using some boards, more spray insulation, and scrap 2″ foam boards from an earlier project.  I also packed some foam into the french drain under the door frame to allow water out but keep any insects from getting in.

improvised doorframe braced until the insulation hardens

2016-06-23 20.45.23

So it’s Done! Other than some experimentation with automation to play with fans and temperature controls, it’s now a fully functioning root cellar.  This will significantly increase our storage capacity and free up space in our pantry in the spare room upstairs (which was honestly a little crowded with shelving).

Root Cellar Update

So,  it’s been a few months since I started using the cellar as a grow room,  and one big lesson learned is the basement was too cool. I will definitely need heat mats to germinate seeds in the basement next year,  the only plants that really did well were the tomatoes.

I’ve started hardening off my tomatoes,  and I had a few late starts, like my pepper plants,  along with some calendula and lupine. Since the grow bed has started slowing down,  I’ve started converting to root cellar mode. I’ve discovered Home Depot is a treasure trove of free wood in the form of palettes. Especially in the spring,  when they get rid of pre-fabricated shelving that their plants are sold on (score!).

This was just a quick update post; my garden has had a late start with all the crazy weather,  but I’ll show what I’m doing this year soon.

Root Cellar: Stage 2

Well, last time I talked to you about the benefits of a root cellar, and the beginning of my process to convert a corner room of my basement into a root cellar.  I started by cleaning it out and sealing some of the larger cracks in the wall.

I have since painted the walls with a waterproof paint to help keep it clean and prevent the walls from leaking. I did a little investigation and found where the leak was coming from outside and patched it up to help keep the water out. I also vacuumed and swept the floor so the room would be nice and clean.

2016-03-10 21.17.02

The next steps will be to install a tight door to help insulate the room and keep critters out, and to install a means of ventilation, which I will likely do by breaking a pair of small holes in the wall and installing vents.

I won’t actually need the root cellar until fall, so I will be using it in the meantime as a grow room to start my plants for the garden this spring.  The concrete walls will allow me to setup automated irrigation without worrying about water damage, but I will need to make sure the room doesn’t get too cool.


I’ll keep you updated!

Root Cellar: Stage 1

With this blog series, I am going to share my journey of building my own root cellar with everyone and hopefully inspire somebody to do the same.

We’ve talked about being self reliant and keeping a well stocked pantry for storing large amounts of food in the event of an emergency, whether it’s a financial/economic slump, a weather storm, or the end of the world. Food that isn’t shelf stable typically requires special storage considerations, but it isn’t always practical or affordable to have three freezers or refrigerators. Instead, the tried and true method of root cellaring can be utilized.

The basic necessities (which coincidentally are how your fridge and freezer also preserve food) are cold and dark. A root cellar usually can’t get as cold as either, but it makes up for it with the third important factor that a fridge and freezer lack, air flow.

They can be as large and complex as standalone buried bunkers, an insulated closet or corner basement room, or as simple and inexpensive as a buried cooler or broken fridge .

I happen to be lucky enough to have an isolated corner room in my basement where the oil tank used to be. This will naturally stay nice and cold through the winter and require minimal extra insulating.

The cellar's humble beginnings
The cellar’s humble beginnings

You might be able to see that the room already has a french drain to help divert moisture from the walls to the sump pump. This can be a blessing if properly managed because produce requires a certain level of humidity, but I’m going to seal the walls anyway.

My first step however, is to completely clean it out. That includes sweeping every square inch to get rid of the dust and spiders (a necessity if lady Tinker is going to eat anything stored down here). I also got a few cans of spray foam to seal the bigger cracks to help insulate the room and prevent the bugs from returning.

Seal all of the cracks

Next time I check in, I’ll be waterproof painting the walls and ceiling to help keep it clean and prevent bugs from sneaking back in.