Category Archives: Composting

DIY Potting Soil

It’s time to start getting ready for spring! If you don’t have space for a garden, or just like to have a few plants closer to or in the house, you’re going to have to pot your plants. One thing people don’t always consider is the cost of dirt, a quality potting soil can be a little pricey if you have more than one or two plants. You can get away with cheap stuff, but it is usually either poor in nutrients or filled with weed seeds or chemicals, so why not mix your own?  A good potting soil needs to be light so you can move it,  rich in nutrients,  and have the right drainage and water retention properties based on what you want to grow.   Let’s cover the basic components of potting soil and what they do for you

Dirt(top soil):
It’s pretty straightforward,  you can buy sterilized potting soil (no weed seeds) from the store,  or dig some up dirt from your back yard.  This is a base to start from with nutrients for your plants. Compost is better,  but dirt will do.
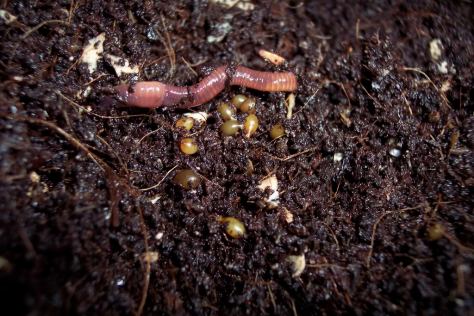
Compost:
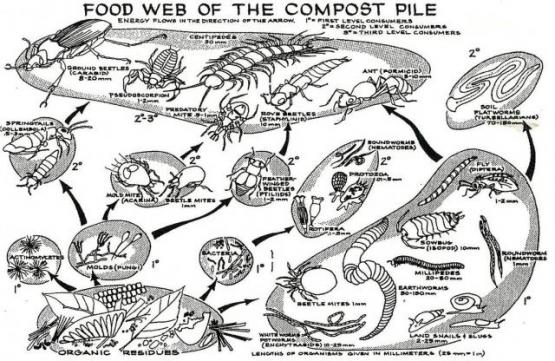
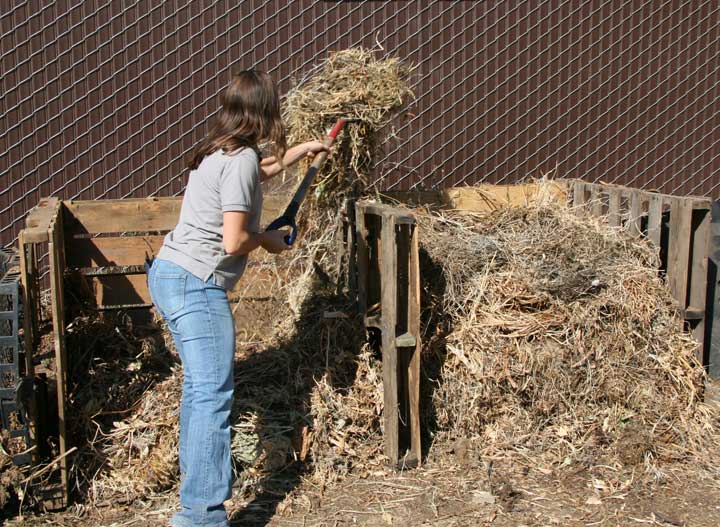
Decomposed organic material,  the gold standard. You should always use compost if you can get some.  This is one thing where local is better; the best part of compost is that it’s literally alive. If you make your own or buy local,  chances are there are still microscopic organisms that your plants will benefit from.  Store-bought will still be rich in nutrient,  but will be completely dead. You can get around this by mixing small amounts of finely shredded vegetable scraps or paper if you can’t find quality compost, it will break down in your pot and act like tiny compost nuggets over time.

Manure:
AGED manure (partially composted) is a great addition,  and acceptable substitution for compost. Do  NOT use human or pet manure,  our diets leave behind too many toxins to be safe to use. Instead look for a local farm with horses or cows.  If it didn’t just come out of the back end,  you’d be surprised how little it smells.  I spread two trailers full of horse manure for my garden in the back of an 1/8 acre lot and nobody would believe there was so much horse poop in my garden.
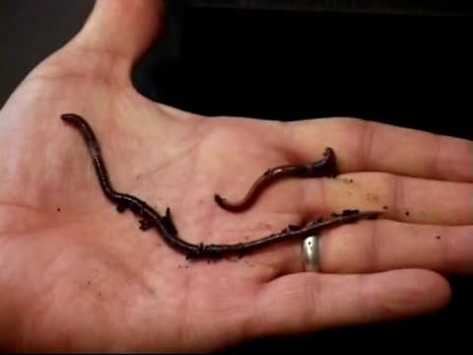
Worm Castings:

Aka worm poop, is somewhere between compost and manure, and is very high in minerals and nutrients, but are pretty expensive if you try buying from a store instead of producing your own. If you are buying it, I recommend you use small amounts as a soil amendment instead of as a base for your potting soil.

Perlite:
This white stone “popcorn” increases aeration and drainage for the health of your roots. It is covered in microscopic pores, which provides excellent habitat for microscopic organisms and keeps your pots nice and light

Vermiculite:
Frequently confused with Perlite, Vermiculite is similar in that it improves aeration and drainage.  However,  Vermiculite is more of a brownish mineral-based sponge which is better at retaining moisture in the soil, and less efficient at aeration than Perlite.   Which one you prefer depends on the needs of your plants.

Mulch/wood chips/bark:
Relatively light weight and in large pieces,  for most plants you want to use small amounts of this to help with texture, aeration and drainage. Cedar or pine bark/chips, or pine needles,  are a good choice for acid loving plants.  Instead of mixing it into your top soil,  you can also cover the exposed soil after planting to help prevent evaporation and reduce the amount of watering needed.

Peat Moss/Coconut Coir:

It’s really a crapshoot in my opinion, because peat moss, while being very light, is both hydrophobic (nearly impossible to get wet) and a great amendment to help keep your soil moist.  If peat dries out too much, it will be nearly impossible to get it to absorb any water.  If you are eco-conscious, definitely go for the equivalent coconut coir, it’s derived from shredded coconut husks and is much more environmentally friendly than depleting peat bogs, which take centuries to milllenia to replenish.

Those are your basic ingredients for a potting soil,  the ratios of which can vary greatly based on what you want to accomplish.

A generic potting soil can be made from two parts of compost/dirt, one part Vermiculite/Perlite based on if you want drier or wetter soil, and one part peat/coconut coir. You can add in a little mulch, bark,  or leaves for more aeration and organic material, most plants can tolerate a wide diversity. Just make sure everything is very will mixed, and for the love of god don’t listen to those people who tell you to add rocks or packing peanuts to the bottom of a pot. This barrier between layers of materials with different sizes and textures raises the level where water will sit and collect, causing your roots to rot.

If you want to get more detailed, any quick google search should point you in the right direction if you are looking to accommodate a unique plant like succulents or ornamental bulbs.

Composting – with Worms

Vermicompost, aka composting with worms, is a good option for people on small properties or in apartments, or who can’t get enough material for a proper hot compost. As long as you don’t feed them more than they can eat, it never really stinks, they just turn all your garbage into worm castings (poop) that is super high in nutrients and is arguably more beneficial for plants.

While you can do it on the cheap and dig up worms from your back yard, you’d be better off buying worms specifically bred for it. Your average backyard worm is likely a form of nightcrawler, where what you really want is a red wiggler. Red wigglers don’t really burrow like nightcrawlers, and even though they are smaller, they can eat a lot more; roughly half of their weight each day, which is pretty good.

worm vs rw
typical earth worm compared to a red wiggler                     photo from http://www.worms4earth.com

If you eat lots of fruits and vegetables, worms may be an excellent addition to your home as this is what they eat. They don’t eat dairy or meat, and salty/acidic foods like citrus can burn their mucous-y skin, so avoid them in your worm bin.  You can spend a lot of money on a fancy worm get-up, or you can do a little research and make your own from any variety of containers, just make sure it doesn’t let light in, and has a fairly tight but breathable lid.  Once you decide to try vermicomposting, go ahead and order your worms, typically 1000 worms per pound. Try to estimate your daily, or weekly non-meat/dairy food waste, and order appropriately; if you think you throw away 5 pounds of veggies, apple cores, mashed potatoes, etc. a week, you would need 10,000 worms to process everything!  If that’s too much to handle, you can of course start with a smaller worm bin and try a cold composting system by throwing the extras in a pile in the yard for several months, or just throwing it out. Keep in mind that a healthy worm colony can double in size every 3 months anyway, so you won’t have to worry about buying more to scale up if you do it right (you can always let them go in the garden or yard, or sell your extras if you like the population you have).

Once you have your worms on order, you need to make sure your bin is ready. Worms are mostly water, so they are pretty sensitive to temperature and humidity. Above 85F and they will start to cook, too cold and they will freeze, so you want a nice shaded area for them from spring to fall, and will need somewhere well insulated or bring them inside for the winter. Once worms get started, in addition to making worm castings, they also generate “worm juice”, or a liquid fertilizer as a byproduct of breaking down all of the food scraps. You need to make sure you have an appropriate drain so they don’t drown in it, but can’t escape out through the drain, I have found drilling a few holes in the bottom with a cloth or old pillowcase, etc. as a lining for the entire container to be the easiest method. You’d be amazed at how small of a hole they can fit through, a hole small enough for them to not squeeze through is a hole that will clog up in a few days if it doesn’t have a filter, so just drill a few holes and use a cloth for all of your worms to chill in. You should try to capture the worm juice with a jar under the drain because its an excellent fertilizer to water your plants with.

Their bedding should be always damp like a squeezed out sponge, but never dry and never wet.  The easiest way to start a worm bin is to finely shred some paper or junk mail (no shiny stuff) and let it soak in a bucket over night, then squeeze it out and spread it all over your container about an inch or two deep. Remember, red wigglers aren’t burrowers, so deeper isn’t better.  Worms always ship dehydrated (they transport better that way), so when you get them you will have instructions on how to rehydrate them and introduce them to their new home. BE WARNED, they will be pissed, and do anything they can to escape within the first day. A window screen won’t work, a sealable lid won’t work unless it has some sort of o-ring or gasket, but that shouldn’t be permanent anyway because you will suffocate them. The only thing I’ve found to work is another piece of cloth rubber-banded around the lid. Once your worms settle, you may or may not need a lid anymore, and can feed them scraps proportionate to how many worms you have, 1/2 lb per 1000 worms per day (on average, you can do more every other day, or a lot more once per week).  This isn’t really a hard number, just keep a nose out for any funky smells, or of the food starts building up. You can mitigate this by burying the fresh scraps under the existing bedding or adding a thin layer of fresh bedding.

Let’s talk basic maintenance and trouble shooting. If your pile is too dry, give it a quick spray. If it’s too wet, your drain may be clogged, or there may be too much stuff in there; if you can’t sort it out easily, transfer them to fresh (dry bedding) to absorb that moisture and try to clear those drains.  Make sure the temperature is right and they are out of the sun to keep them happy. Don’t overfeed them, and don’t underfeed them or they will try to leave.

If you’re doing everything right and they are happy, they may disappear to the bottom of the bin for a big writhing worm orgy. After that happens you should start to see amber colored capsules the size of a grain of rice. These are worm cocoons and means your worm empire is growing!

www.katemessner.com
red wiggler and eggs, http://www.katemessner.com

After it seems like most of their bedding has been eaten and most of the bin is starting to look pretty dark with worm castings, it’s time to harvest.  Stop feeding them for a few days until most of the food scraps are gone. Then you can either dump them on a tarp and manually sort the worms out into a new bin, which is more time intensive and much grosser, or you can have them move out on their own.  Push everything to one side of the container and put fresh bedding on the other side. Start feeding them on the clean side of the worm bin, and they will naturally start migrating toward the food, making harvesting the worm castings much easier.

There really aren’t that many excuses not to do it. They don’t take a lot of work they multiply like crazy, they eat your garbage, and give you natural organic-quality fertilizer for all their hard work.  You should try it!

Skill #1: Composting

compostingstinks-ecomyths-cartoon-web

So, It’s January, and it finally started getting cold. I probably should have mentioned that below freezing isn’t exactly the best time to start composting, but here we are.  Composting is at the most basic level the art of making things rot in such a way that it smells as little as possible, using aerobic bacteria, beneficial microorganisms, and critters like pill bugs and worms, to make a biologically diverse, nutrient rich soil (aka humus) that is like crack for plants.picture_4_-_food_web_of_the_compost_pile

The bacteria that do most of the work like it hot and damp, and a healthy compost pile should be around 130-160F with the moisture consistency of a wrung-out sponge. If the temperature is too low, you might have too much carbon, and a quick fix for that is to pee on it for a few days to up the nitrogen!  This can also be affected by the amount of material you have in your pile, too much and the pile can collapse under its own weight, suffocating the aerobic bacteria that are working so hard for you. If your pile is too small, there won’t be enough material to allow it to get up to temperature and support the critters chewing it up. The universal standard is one cubic meter, or just over 3 feet cubed (trust me, it’s about ten times the amount of material you think it is). There are complex, expensive machines that are supposed to make smaller amounts work, but I’m going to need the material for my garden anyway, and I don’t want to spend $100+ on something that three recycled pallets and a pitchfork can do just as well.

The general rule of thumb is that you want a ratio of 30 carbon to 1 nitrogen for the ideal mixture to allow it to break down quickly without starting to reek.  Carbons are your “browns”, basically anything dead or woody like mulch, fallen leaves, straw, cardboard, newspaper, sawdust, etc.  Nitrogens are your “greens” like vegetable and fruit scraps, leafy plant trimmings, weeds (before they flower/seed or you will get weeds everywhere next year!!), and even coffee grounds. Animal manure, seaweed, blood(meal), and urine are among the lowest c:n ratios (most nitrogen). Here is a website with a good starting list of  c:n ratios. Too high of a carbon ratio and your compost pile will take very long to break down, but if your ratio is too low (too much nitrogen) your pile will get all slimy and stinky, which also means it’s unhealthy.  Many people say meats, dairy, and oils are forbidden in compost piles, but I think thats more for pest management than it actually doing any damage to your pile, since they all break down the same. My philosophy is, a little bit never hurt anybody, so I’m not going to worry about a little meat or dairy in my pile unless it starts to smell. If I happen to feed a few of the local critters, they’ll only turn the pile a little for me, until the Furry Tinkerer chases them off. (Side note, I know she’ll keep the garden largely pest free for me this summer, she always chases off the squirrels and already caught a rabbit in the back yard).

Composting can be very complicated if you get into higher level science, tweaking the microbiology can yield customized composts designed to benefit specific products such as strawberries or tomatoes.  But for the beginner, there are two basic approaches. The first is the ‘set it and forget it’ approach, where you gather all of your material, wet it down, mix it up, and leave it alone for a few months, checking on it occasionally to fix any problems if it starts to dry out, cool off, overheat, etc.

Not me, or my picture, but a good illustration of two stalls needed for turning compost.

The other popular beginner method is the Berkeley Method. Here you can get a completed compost pile in 18 days, but it takes a lot of work with a pitchfork. On Day 1 you stack your pile and wet it down so it is slightly damp throughout. Then you leave it alone for the microbes to colonize the pile and start to heat it up. On the fourth day, you get your pitchfork and invert the pile, taking everything from the outer layers and put it in the middle (you will need a second compost area) and stacking the center of the old pile onto the outside of the new one. Check for moisture and water if necessary. You repeat this every other day until you hit 18 days, for a total of 8 turns, or roughly 4 hours of work. That seems like a lot of work, but you condense 6-12 months of waiting into 18 days.

help

So, I’ve started collecting material for my pile, and like I said it’s a lot more than you think it would be. To get enough for more than one pile before I need it this spring, I’ve started handing out buckets at work to collect peoples’ food scraps, I hit up the local horse stable occasionally for some nice aged manure, and save all my own food scraps of course. I’m going to be contacting a local lunch shop to see if I can’t get their food scraps to kick my composting into overdrive, and I’ll have to tarp the pile to help keep it warm in this weather.

Have you ever composted before? Try it! I’ve already impressed Lady Tinkerer and my parents with how little a yard full of aged horse manure can smell, compost is nothing compared to that.