Category Archives: Recycling

Skill #1: Composting

compostingstinks-ecomyths-cartoon-web

So, It’s January, and it finally started getting cold. I probably should have mentioned that below freezing isn’t exactly the best time to start composting, but here we are.  Composting is at the most basic level the art of making things rot in such a way that it smells as little as possible, using aerobic bacteria, beneficial microorganisms, and critters like pill bugs and worms, to make a biologically diverse, nutrient rich soil (aka humus) that is like crack for plants.picture_4_-_food_web_of_the_compost_pile

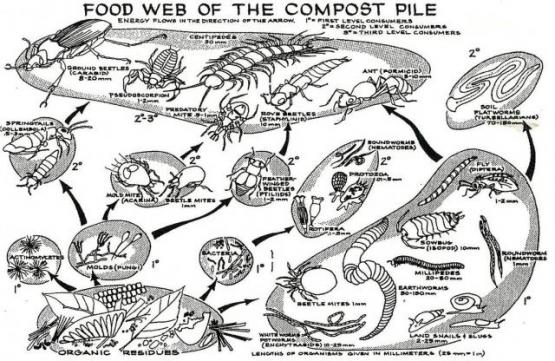
The bacteria that do most of the work like it hot and damp, and a healthy compost pile should be around 130-160F with the moisture consistency of a wrung-out sponge. If the temperature is too low, you might have too much carbon, and a quick fix for that is to pee on it for a few days to up the nitrogen!  This can also be affected by the amount of material you have in your pile, too much and the pile can collapse under its own weight, suffocating the aerobic bacteria that are working so hard for you. If your pile is too small, there won’t be enough material to allow it to get up to temperature and support the critters chewing it up. The universal standard is one cubic meter, or just over 3 feet cubed (trust me, it’s about ten times the amount of material you think it is). There are complex, expensive machines that are supposed to make smaller amounts work, but I’m going to need the material for my garden anyway, and I don’t want to spend $100+ on something that three recycled pallets and a pitchfork can do just as well.

The general rule of thumb is that you want a ratio of 30 carbon to 1 nitrogen for the ideal mixture to allow it to break down quickly without starting to reek.  Carbons are your “browns”, basically anything dead or woody like mulch, fallen leaves, straw, cardboard, newspaper, sawdust, etc.  Nitrogens are your “greens” like vegetable and fruit scraps, leafy plant trimmings, weeds (before they flower/seed or you will get weeds everywhere next year!!), and even coffee grounds. Animal manure, seaweed, blood(meal), and urine are among the lowest c:n ratios (most nitrogen). Here is a website with a good starting list of  c:n ratios. Too high of a carbon ratio and your compost pile will take very long to break down, but if your ratio is too low (too much nitrogen) your pile will get all slimy and stinky, which also means it’s unhealthy.  Many people say meats, dairy, and oils are forbidden in compost piles, but I think thats more for pest management than it actually doing any damage to your pile, since they all break down the same. My philosophy is, a little bit never hurt anybody, so I’m not going to worry about a little meat or dairy in my pile unless it starts to smell. If I happen to feed a few of the local critters, they’ll only turn the pile a little for me, until the Furry Tinkerer chases them off. (Side note, I know she’ll keep the garden largely pest free for me this summer, she always chases off the squirrels and already caught a rabbit in the back yard).

Composting can be very complicated if you get into higher level science, tweaking the microbiology can yield customized composts designed to benefit specific products such as strawberries or tomatoes.  But for the beginner, there are two basic approaches. The first is the ‘set it and forget it’ approach, where you gather all of your material, wet it down, mix it up, and leave it alone for a few months, checking on it occasionally to fix any problems if it starts to dry out, cool off, overheat, etc.

Not me, or my picture, but a good illustration of two stalls needed for turning compost.

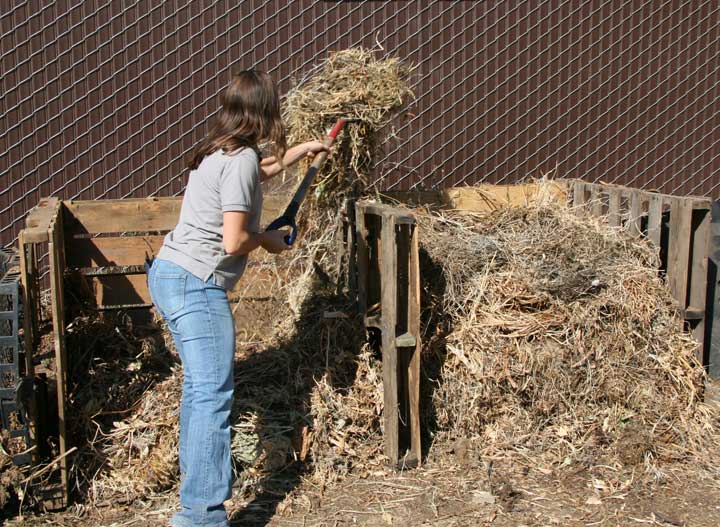
The other popular beginner method is the Berkeley Method. Here you can get a completed compost pile in 18 days, but it takes a lot of work with a pitchfork. On Day 1 you stack your pile and wet it down so it is slightly damp throughout. Then you leave it alone for the microbes to colonize the pile and start to heat it up. On the fourth day, you get your pitchfork and invert the pile, taking everything from the outer layers and put it in the middle (you will need a second compost area) and stacking the center of the old pile onto the outside of the new one. Check for moisture and water if necessary. You repeat this every other day until you hit 18 days, for a total of 8 turns, or roughly 4 hours of work. That seems like a lot of work, but you condense 6-12 months of waiting into 18 days.

help

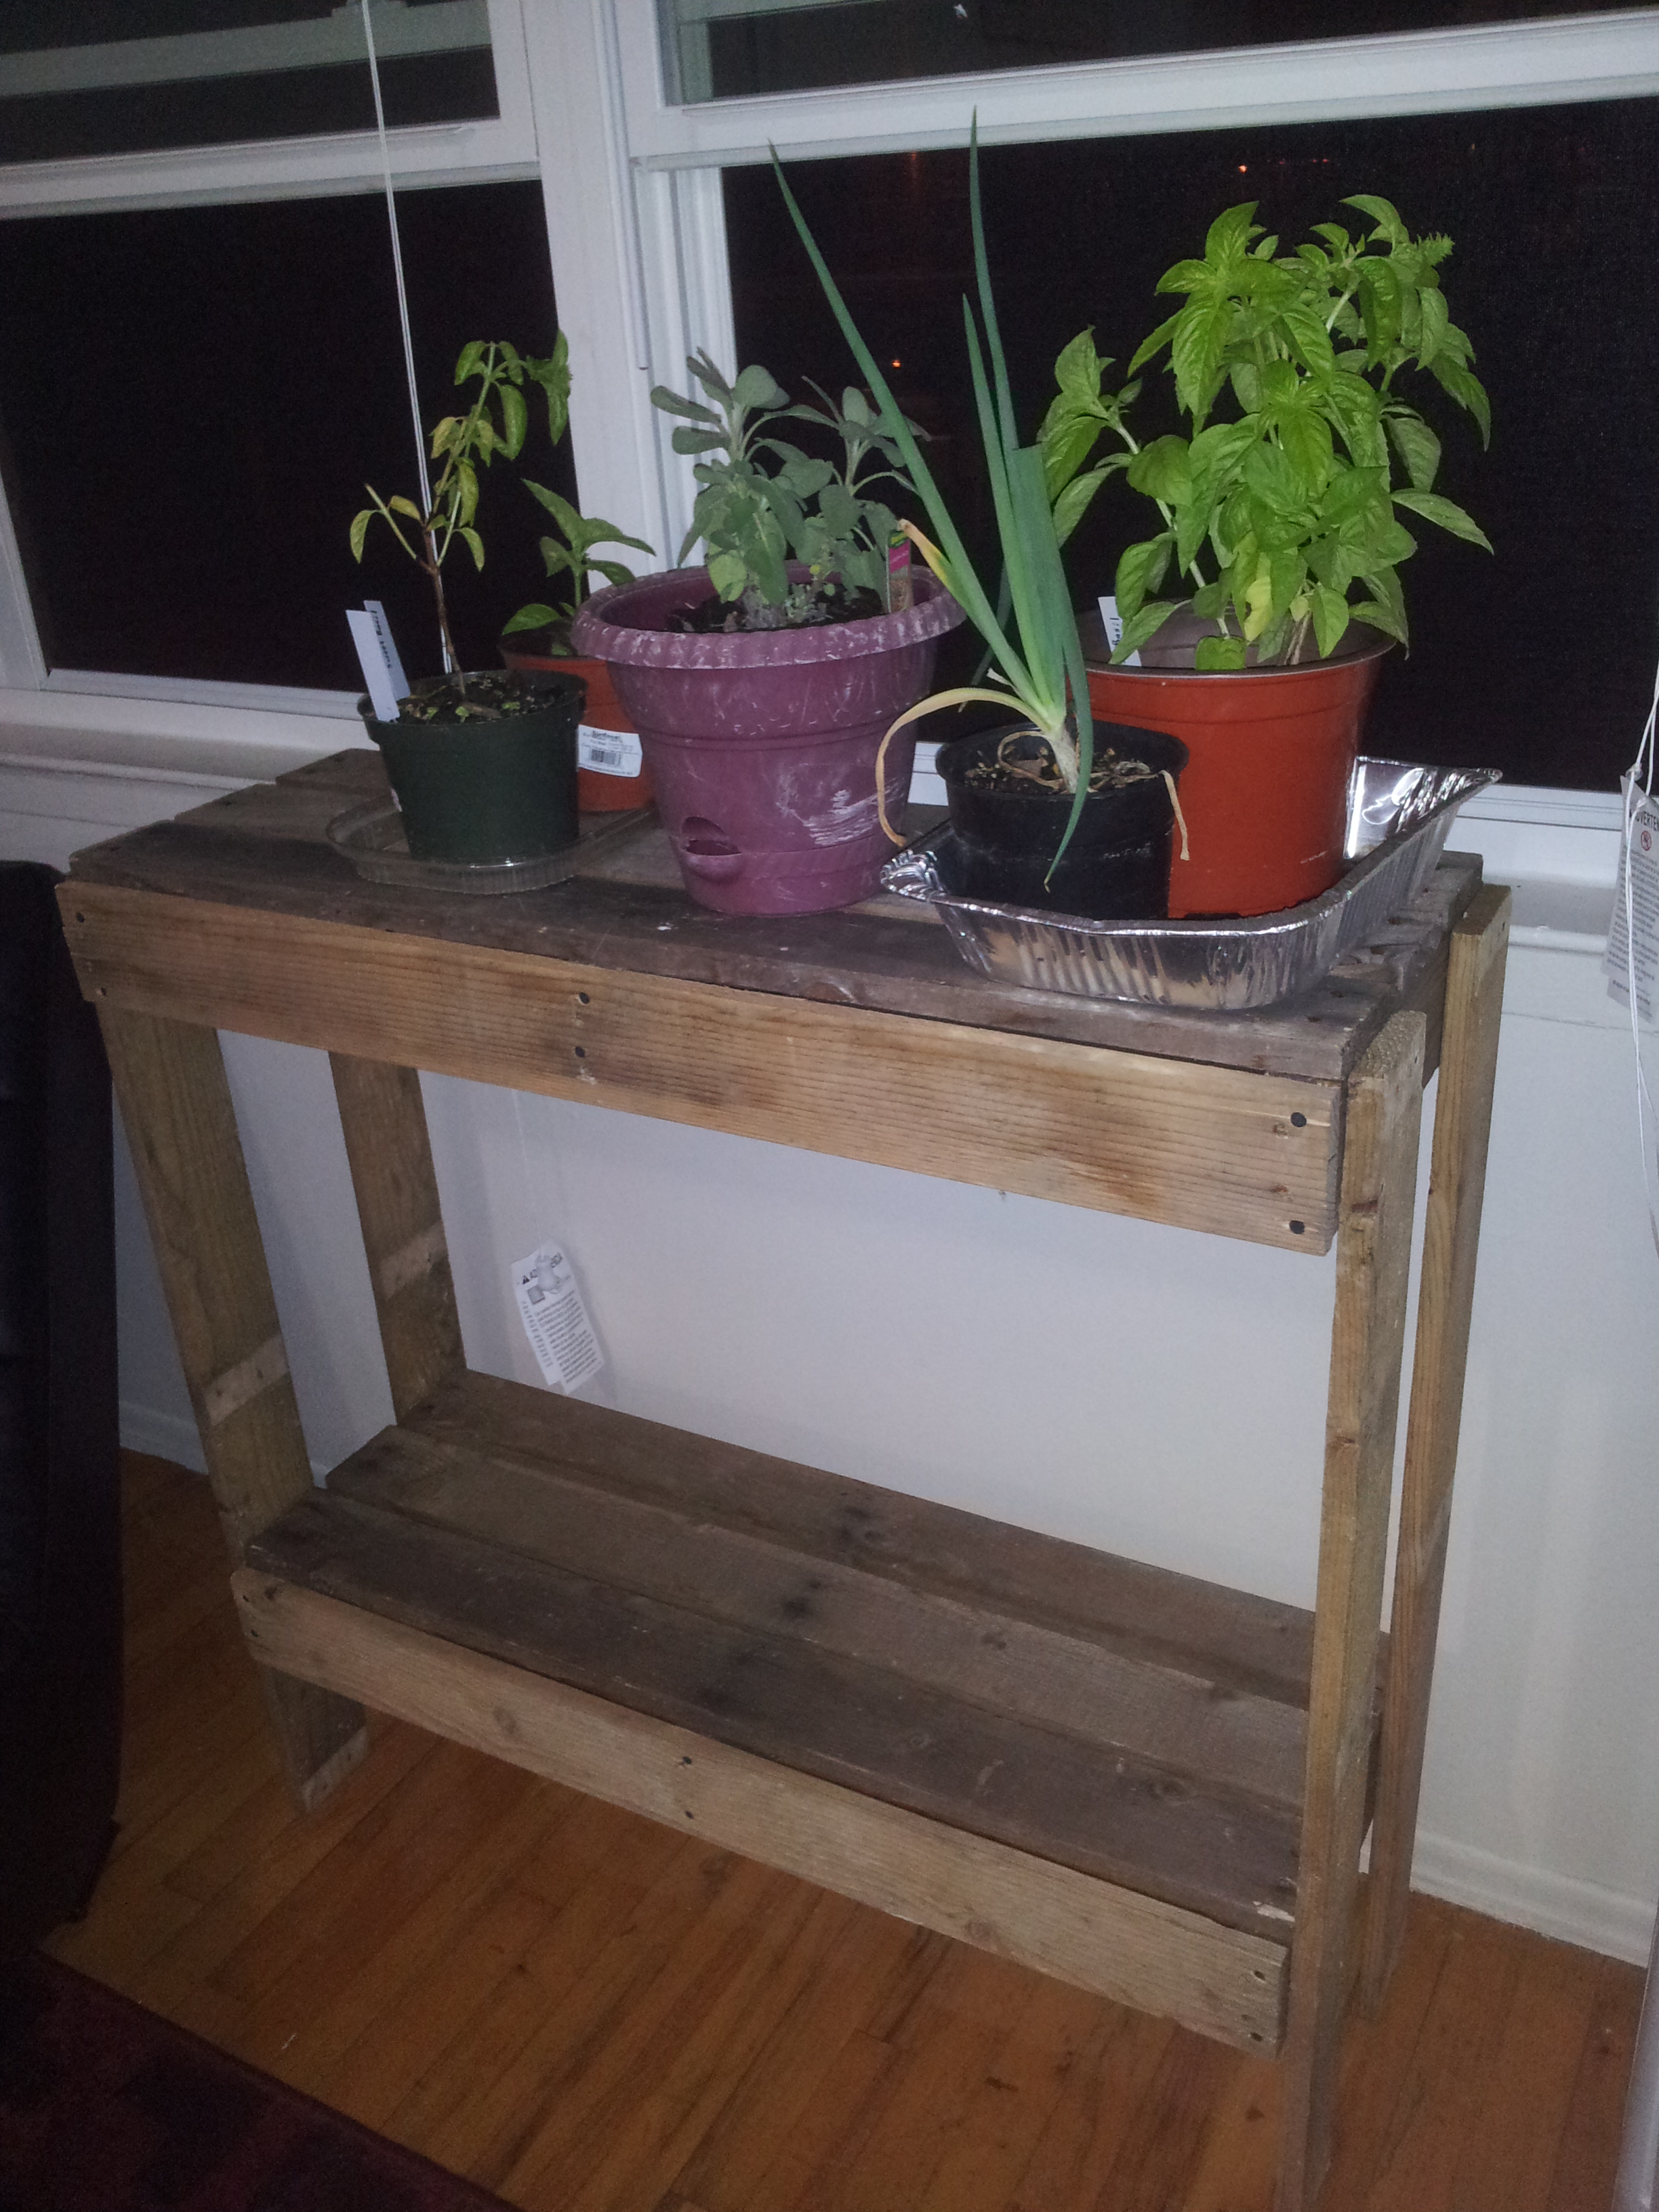
So, I’ve started collecting material for my pile, and like I said it’s a lot more than you think it would be. To get enough for more than one pile before I need it this spring, I’ve started handing out buckets at work to collect peoples’ food scraps, I hit up the local horse stable occasionally for some nice aged manure, and save all my own food scraps of course. I’m going to be contacting a local lunch shop to see if I can’t get their food scraps to kick my composting into overdrive, and I’ll have to tarp the pile to help keep it warm in this weather.

Have you ever composted before? Try it! I’ve already impressed Lady Tinkerer and my parents with how little a yard full of aged horse manure can smell, compost is nothing compared to that.

The Year in Review

So, it’s been a while, and that’s my fault. I started this site at a big transition point in my life and thought I’d be able to keep up with everything I’ve wanted to try. I spent a lot of time getting ready to move into my house and adjusting to a new job. I’ve made several batches of cider and wine, I think my strawberry wine is my biggest success so far!  I ordered five fruit trees and several more plants (I will update soon about putting plants “to bed” for the winter) and built an indoor a-frame grow stand to try my hand at growing microgreens and protect my more sensitive/younger plants that I began growing at a bad time of year.  I now can and dehydrate excess food, though I will readily admit canning is a huge pain, so I got a pressure cooker that can pressure-can and will control the temperature and pressure so I don’t have to sit in front of the stove for hours at a time! I had a worm bin that was working fairly well, until i had to leave for vacation and they all died; I will likely start a bigger one up this spring now that I will have the space with a true yard.

The last year has kept me primarily very busy with the house, I’ve installed a more efficient wood burning stove into the old fireplace, made several repairs to the house which was ruined by renters, replaced the kitchen floor, completely remodeled the bathroom, had a tree cut down from the back yard to let in some light for my future garden (and saved the entire thing for firewood and mulch) and then fenced in and cleaned up the back yard for our new rescue pup, and turned one of our spare rooms into a full on pantry with shelving and two full freezers.

This fall I got a mother-load of free mulch from a local tree trimming company and several trailer loads of horse manure from a local stable to prepare the garden for vegetables next spring. I had so much mulch I figured I may as well mulch the entire perimeter of the property and certain key areas of the front of my property to keep it clean but also establish plenty of beds to plant into. I plan to plant many varieties of productive plants into these mulch beds this spring beyond what will be going into the garden. I’m going to over plant like crazy and STUN them (Sheer, Total, Utter, Neglect); whatever survives without too much work will be used to grow stronger plants next year, and whatever dies will be sent to my new compost pile!

I make my own shampoo, clothes washing detergent, deodorant, and toothpaste,  and support a family that makes soap by hand.  For this  Christmas, me and Lady Tinker crafted homemade gift baskets for everyone, including a crocheted basket for the gifts and a soap scrub, bath bombs, homemade sugar scrub, and an amazing new comfrey-plantain healing salve which will definitely be a steady item in the Tinkerer household.

Writing this all out, it looks like I have done much more than I initially thought I did. But trust me, there is much more to come this year! Follow me on my journey, and hopefully I will inspire you to try something new that will lead you to a more self-dependent, fulfilling lifestyle.

My first project from recycled pallets!


So where I work, we typically get half a dozen pallets a week from shipments, which inevitably get thrown out. I decided this would be a good opportunity for me to try my hand at carpentry and reduce waste at the same time.

Since I live in an apartment, I am limited by space, so it had to be something relatively small. Since winter is around the corner, and I will need a place to protect my little plants as they grow into big and strong plants, i decided a few small tables for infront of the windows would be perfect.

I picked three nice pallets from work and cut two of them into thirds, so each shelf was a full pallet long, and three boards deep (roughly 12″). I then stripped down the third pallet for legs and braces. I took the outside two-thirds of each pallet so I would have a flat ‘front’, and drilled a board onto the front of each, which made it look a little nicer, and added more support to prevent the shelves from sagging.

Then I drilled two legs to one side of the ‘top’ shelf at 12″ apart (assembling the table on its side since it only had two legs at this point). I then attached the bottom shelf at an arbitrary 20″ beneath the top shelf, keeping the leg spacing at 12″ to help keep it square, thinking this would give enough space for a larger plant on the bottom but still keep it well off the ground. I then attached the third leg, and moved it onto a flat surface before attaching the fourth leg (I was working outside).  My thought was, if I attached the fourth leg on a flat surface, I could make sure the table wouldn’t rock.

20141020_203413

I was able to successfully make two tables with some scrap lumber, and I think it adds a nice rustic touch to the apartment . I’m thinking maybe to save it for a small stool on the balcony when I am working with my plants outside. One of the tables infront of the balcony door will work perfectly, but since the one in the den doesn’t allow any sunlight on the bottom shelf, I’ll probably just use that for storage.

Have you ever considered recycling pallets? They are basically free wood! What have you tried to make recycling pallets?